How to Use Mydesigns for Print on Demand: A Beginner’s Fast-Start Guide
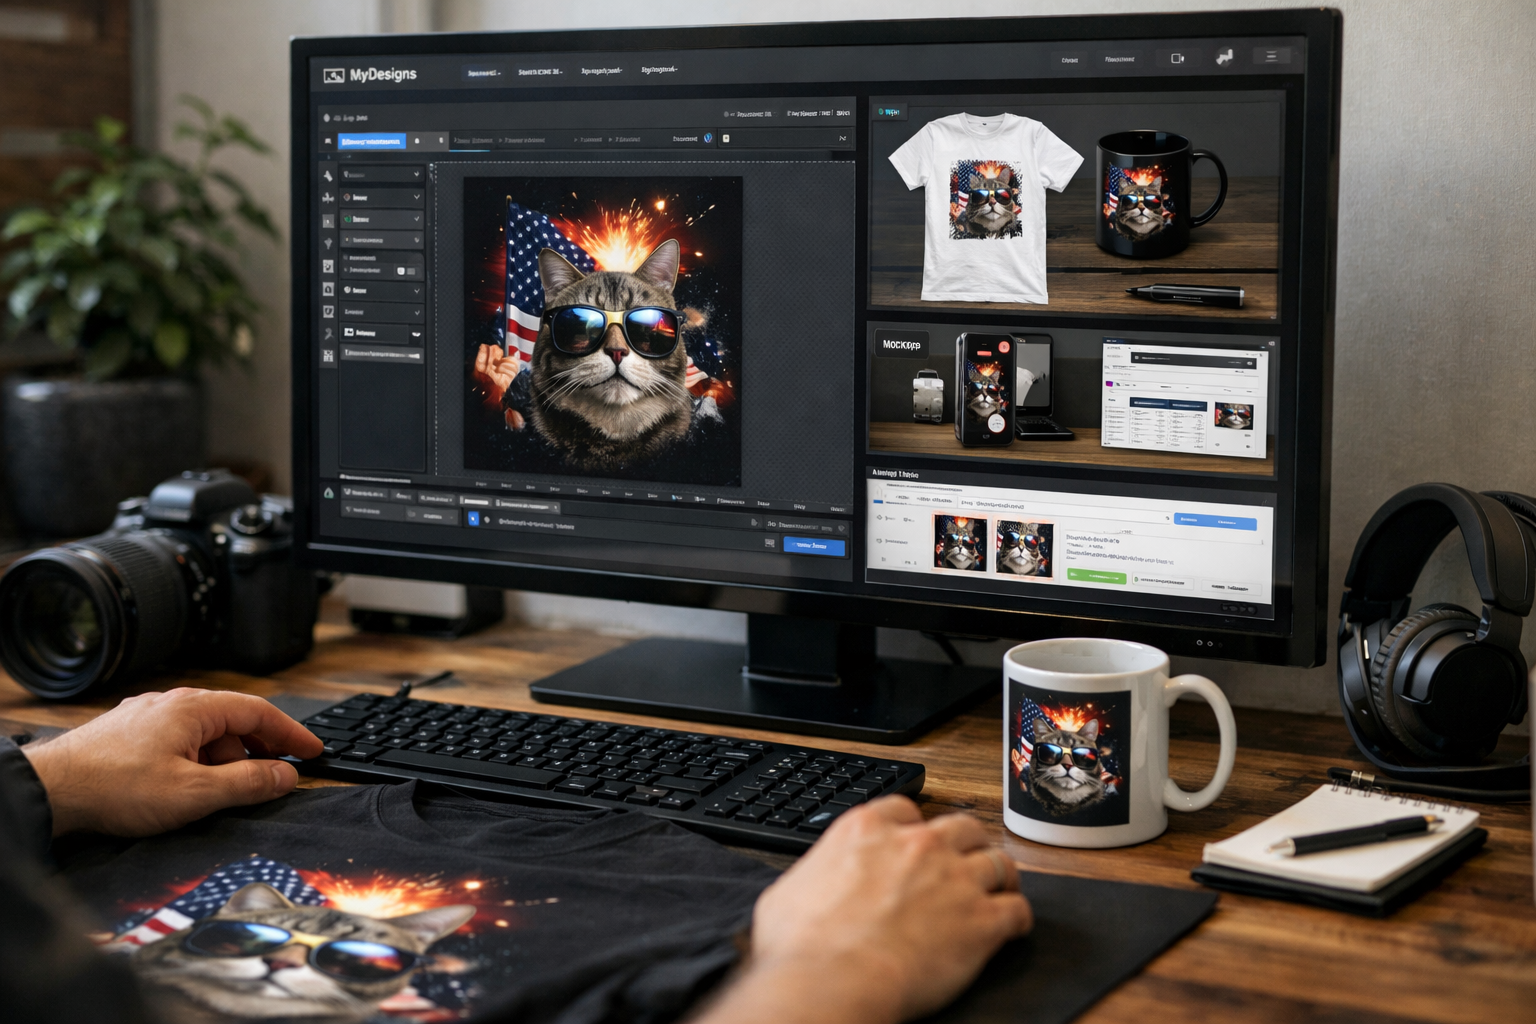
Learning how to use MyDesigns does not need to be complicated. If you are new to print on demand (POD), this beginner-friendly walkthrough will show you how to go from a product idea, AI prompt, or existing design to a publishable listing step by step.
MyDesigns is designed to bring design creation, mockups, product listings, and publishing into one workspace. The goal is not to create hundreds of products on day one. It is to create one clear, well-presented product, check it carefully, and learn a repeatable process you can use again.
Affiliate disclosure: TopTrustReview may earn a commission if you choose to sign up through links in this article, at no extra cost to you. Recommendations and factual plan details are based on official MyDesigns information.
Official website · Latest pricing & offers
What MyDesigns Is and Who It’s For
MyDesigns in one sentence
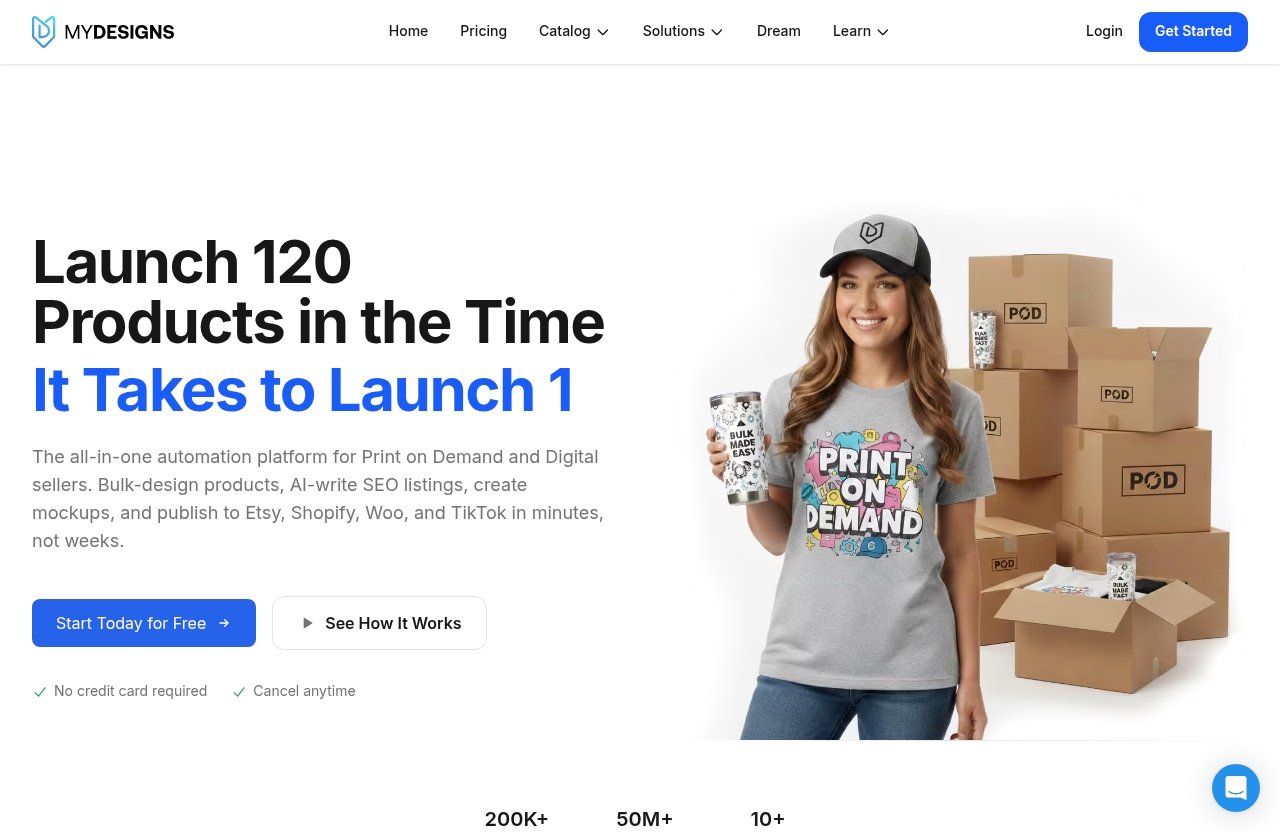
MyDesigns is an all-in-one platform for creating, publishing, and selling print-on-demand and digital products from one workspace. It helps sellers move from an idea or design file to product mockups and marketplace listings without having to jump between multiple tools for every task.
For beginners, the main advantage is having a structured workflow. Instead of wondering what comes after designing artwork, you can follow the natural sequence: create a design, choose a product, make mockups, add listing information, and publish.
Best fit for Etsy, Shopify, WooCommerce, and TikTok Shop sellers
MyDesigns can suit sellers who want to list on Etsy, Shopify, WooCommerce, or TikTok. The official pricing page includes bulk publishing to these channels, although your available shop connections depend on your plan.
If Etsy is your first destination, keep your initial goal simple: publish one focused product in one niche. For example, a hiking-themed tee, a minimalist mug, a book-lover tote, or a printable wall-art design is easier to validate than a large mixed collection.
This approach is especially useful for people searching for a practical how to use MyDesigns for beginners guide. You do not need a large catalog before you understand the basics of design placement, mockups, listing copy, and product variations.
What you can do in one workspace
MyDesigns includes tools for working through the major POD tasks in one place. Verified features include the Canvas editor, Dream AI, bulk mockups, listing generation, catalog import and export, Scout AI, and bulk publishing.
A typical first-product workflow looks like this:
- Choose an idea or niche.
- Create artwork with Dream AI, Canvas, or your own imported file.
- Select a product from the catalog.
- Position the artwork and review the product presentation.
- Generate mockups and listing information.
- Connect a sales channel and publish.
- Check the live listing before promoting it.
That is the practical foundation of MyDesigns print on demand. You can explore more advanced tools later, but a beginner should first become comfortable turning one design into one accurate listing.
How to Use MyDesigns: Quick Start Overview
Step 1: Create your account
Start by creating a MyDesigns account. There is a free option available, and no credit card is needed to start free, which makes it useful for exploring the workspace before deciding whether a paid plan fits your needs.
Once inside, avoid trying every tool immediately. Start with the dashboard, identify where designs and products are managed, and decide what your first product will be.
Step 2: Pick a plan or start free
You can start free if you want to see how the platform feels before committing. Paid plans add different levels of AI credits, batch capacity, connected shops, design-library storage, and other capabilities.
For most new sellers, the right plan is the one that supports your current workflow—not the one with the largest limits. If you are making a single test listing, learning the process matters more than publishing at scale.
Step 3: Connect your store
When you are ready to publish, connect the sales channel you plan to use. MyDesigns supports Etsy, Shopify, WooCommerce, and TikTok, according to the official pricing page.
For a first-time seller, it is usually easier to connect only one store initially. Confirm that you are using the correct shop before sending products live, particularly if you manage more than one storefront.
Step 4: Create your first design
You can begin with an idea, a written AI prompt, or an existing design asset. This flexibility is one reason the platform can work for different types of sellers: artists with finished files, beginners who need creative assistance, and store owners updating established listings.
Your first design does not need to be elaborate. A clear message, a readable type treatment, or a simple niche-specific illustration is often a better starting point than a crowded composition.
Step 5: Build and publish your first product
Choose a product, apply the design, generate mockups, complete the listing data, then publish. This is the core answer to how to use MyDesigns quickly: take one idea all the way through the workflow rather than stopping after the artwork is created.
Fastest path: Pick one simple product category, use one design, create a small set of clear mockups, review your title and variants, then publish to one connected shop. Save more complex batch work for after your first listing is live.
Step 1: Set Up Your Workspace Correctly
Dashboard basics
The dashboard is the best starting point because it gives you a high-level view of your workspace. Before creating anything, take a moment to skim the available on-page options and identify the sections related to designs, products, mockups, stores, and publishing.
This small orientation step reduces confusion later. When you know where your assets and listing tools live, you are less likely to duplicate files or lose track of unfinished product drafts.
Where the main tools live
Your main working areas will revolve around creating or importing designs, editing artwork, choosing products, generating mockups, and preparing listings. Dream AI is relevant when you want to start with a prompt, while the MyDesigns Canvas editor is useful when you want more direct control over layout and design elements.
Think of the workflow as a production line. Your original design is the source asset; the product setup turns that asset into something sellable; mockups and listing details make the product understandable to shoppers.
What to check before creating anything
Before you make your first item, prepare a small folder of assets and decisions:
| Item to Prepare | Why It Helps |
|---|---|
| A niche or customer idea | Keeps the design and product focused |
| A product type | Prevents random, unfocused catalog browsing |
| A design concept or prompt | Helps you create faster |
| Brand colors or fonts, if relevant | Makes future listings more consistent |
| A basic product title idea | Makes listing generation easier to review |
When learning how to use MyDesigns, organization is more useful than perfection. Name design files clearly and keep separate versions when you make meaningful changes. This becomes increasingly important once you begin producing batches.
Step 2: Choose a Design Path in MyDesigns
Use AI to generate artwork
Dream AI offers a starting point for sellers who have an idea but do not yet have finished artwork. Write a prompt that describes the subject, style, mood, composition, and intended audience as clearly as possible.
For example, instead of asking for “a dog design,” describe a more focused concept such as a “friendly retro-style golden retriever illustration for a hiking-themed shirt.” You should still review every result carefully for visual quality, clarity, and fit with the product you plan to sell.
AI can speed up ideation, but it should not replace judgment. Check that the artwork supports your niche and does not contain unclear text, unwanted visual details, or a composition that will not work well on a product.
Use the Canvas editor
The Canvas editor is a good choice when you want to create or refine a design directly. You may prefer this route for text-based products, simple layouts, custom arrangements, or edits to artwork you already have.
A beginner-friendly method is to start with one central visual element and one readable message. Keep enough empty space around the design so it remains clear when placed on a tee, mug, tote, hoodie, or wall-art product.
This is often the best route for sellers who want to learn how to create print on demand designs with MyDesigns while maintaining more hands-on control. Test your design at a smaller viewing size, because customers will often first see it as a small listing thumbnail.
Import existing designs or listings
If you already create artwork in another program, you can import your existing designs and use MyDesigns for the product, mockup, and publishing stages. This lets you keep your preferred creative process while simplifying the operational side of POD.
MyDesigns also includes catalog import and export on Pro and Pro Plus. That can be useful later when you want to work with established product information, but first-time users should focus on accurately completing one product from start to finish.
| Design Path | Best For | Main Benefit |
|---|---|---|
| Dream AI | Starting with an idea or prompt | Faster concept creation |
| Canvas editor | Custom text and layout work | More direct design control |
| Imported artwork | Sellers with existing files | Uses work you already own |
| Imported listings | Established stores on eligible plans | Helps organize existing catalog work |
Step 3: Turn a Design Into a POD Product
Select a product from the catalog
A design file is not yet a product listing. To create a sellable item, select a product from the catalog that makes sense for the design and the intended customer.
For your first item, choose a product that suits the artwork naturally. A bold quote may work on a shirt or tote, while a subtle illustration might make more sense as wall art or a mug. Avoid applying the same design to every product type before you have checked how it looks.
Apply the design to the mockup
After selecting a product, place your artwork on the product presentation. This is where you decide whether the concept works in a real shopping context rather than only on a blank canvas.
Use the product view to evaluate visual balance. A design can look good as a standalone image but appear too small, too large, too low, or poorly centered once placed on a wearable or physical product.
Adjust placement and variations
Review the placement carefully before moving on. If the platform offers product variants for your selected item, check each relevant variation rather than assuming the placement will look identical everywhere.
Keep the first product manageable. You do not need every possible color or variation to launch successfully; you need options that display your artwork clearly and make sense for the product.
Check print readiness
Before publishing, inspect your design at the product level. Look for readable text, clear edges, appropriate placement, and a layout that does not feel cramped.
This is one of the most valuable habits when learning how to use MyDesigns for print on demand. A quick review now can prevent avoidable problems in your shopper-facing listing later.
Step 4: Create Mockups and Listing Data
Generate mockups in bulk
Mockups help shoppers understand what they are buying. Instead of presenting only a flat design file, show the design in a product context that is clean, relevant, and easy to evaluate.
MyDesigns includes bulk mockups on paid plans. This can be especially helpful once you have several products or need multiple presentation images, but even a beginner should prioritize quality over quantity.
Choose mockups that support the product. For a minimalist design, clean product imagery may work best. For a niche apparel design, a lifestyle-oriented mockup can help a buyer imagine wearing or gifting it.
Write titles, tags, and descriptions
Listing data matters because it helps shoppers understand the product and discover it through search. MyDesigns includes listing generation, which can assist with titles, tags, descriptions, and attributes for different sales channels.
Always review generated copy before publishing. Make sure the title clearly identifies the product, the primary design theme, and who it is for without becoming unreadable or repetitive.
For Etsy sellers, a useful listing title usually includes the product type and relevant niche language. Tags should describe real search terms a shopper might use, while the description should explain what the product is, who may enjoy it, and any essential purchase details.
Add attributes and channel-specific details
Different sales channels can require different product information. Review the attributes and channel-specific fields before publishing, especially when using the MyDesigns Etsy integration or sending products to another connected store.
Use this final listing stage to make sure your product details match the actual item. Do not rely on automation alone for product names, variation choices, or descriptions that could confuse a buyer.
Official website · Latest pricing & offers
Step 5: Publish to Etsy or Other Sales Channels
Connect Etsy, Shopify, WooCommerce, or TikTok Shop
MyDesigns supports publishing to Etsy, Shopify, WooCommerce, and TikTok based on the official pricing page. Connect the store you intend to use and confirm you have the appropriate access before preparing a launch.
For beginners, Etsy can be a straightforward place to begin because each product listing can be reviewed individually. However, the same careful approach applies whether you sell through Shopify, WooCommerce, or TikTok.
Publish a single product or in bulk
You can publish one product at a time when learning the workflow. Once you are comfortable and have a set of approved designs, MyDesigns bulk publishing can help reduce repetitive work across a product batch.
Do not let batch publishing encourage rushed reviews. Create a reliable template and product checklist first; then use batch tools for designs and products that have already been checked for consistency.
Verify the live listing after publishing
Publishing is not the last step. Open the live listing and view it as a customer would.
Use this quick checklist:
- Is the title clear and relevant?
- Do the product images show the design accurately?
- Are the selected variants correct?
- Does the price display as intended?
- Is the description readable and accurate?
- Are tags, attributes, and category details appropriate?
- Is the listing in the correct shop?
This verification step is essential in any MyDesigns tutorial because it connects your setup work to the real shopper experience.
What to Do After Your First Product Is Live
Track what sells
After publishing your first product, resist the urge to change everything immediately. Give yourself time to observe which design concepts, product types, and presentation styles you prefer working with.
Keep a simple spreadsheet or notes document. Record the niche, design concept, product type, title style, mockup style, and any future changes you want to test.
Use Scout AI for research
Scout AI, included with Pro and Pro Plus, is designed to find what sells. It can be useful when you are ready to research product opportunities and move beyond choosing niches solely by intuition.
Use research as a starting point, not a shortcut to copying. Look for broad patterns—subjects, audiences, product formats, or design directions—then create original products that fit your own store’s style.
Import and improve listings
Once you understand your first listing, improving existing catalog work becomes easier. Eligible plans include catalog import and export, which can support sellers who want to organize and refine products more systematically.
Review older listings with the same standards you used for your first product: clear images, accurate titles, sensible variations, and customer-focused descriptions.
Scale from one product to a batch workflow
The best time to scale is after you have a repeatable system. Start with a small batch of related products, such as several designs for one audience or one design adapted thoughtfully across suitable product types.
Higher plans provide larger products-per-batch limits and more connected shops. That can support growth, but the most important first step is still learning how to use MyDesigns in a controlled, consistent way.
MyDesigns Pricing: Which Plan Should Beginners Start With?
Starter vs Pro vs Pro Plus
The following summary is based on the official MyDesigns pricing information. Plans can be billed annually or month to month, and all paid plans include a 7-day money-back guarantee and can be canceled anytime.
| Plan | Annual Billing | Month-to-Month | Key Included Capacity |
|---|---|---|---|
| Starter | $19.99/month, billed $239.88 annually | $24.99/month | 250 AI credits monthly, 24 products per batch, 1 shop each on Etsy, Shopify, WooCommerce, and TikTok, 40 GB design library |
| Pro | $39.99/month, billed $479.88 annually | $49.99/month | 600 AI credits monthly, 48 products per batch, 3 shops each on Etsy, Shopify, WooCommerce, and TikTok, 100 GB design library |
| Pro Plus | $79.99/month, billed $959.88 annually | $99.99/month | 2,000 AI credits monthly, 120 products per batch, unlimited shops on every platform, 1 TB design library |
All paid plans include AI credits, bulk mockups, and bulk publishing to Etsy, Shopify, WooCommerce, and TikTok. Starter includes custom and own PSD mockups, while Pro adds bulk video mockups, Scout AI, and catalog import and export. Pro Plus adds priority support.
Who each plan is best for
The MyDesigns Starter plan can make sense for a beginner who wants one shop on each supported sales channel, smaller product batches, and a more modest design-library allowance. It also includes two MyDesigns Stores with a 6% fee and 2% off the print catalog.
Pro may suit sellers who need more AI credits, larger batches, more connected shops, bulk video mockups, Scout AI, and import/export tools. It includes three MyDesigns Stores with a 4.5% fee and 5% off the print catalog.
Pro Plus is best considered when you have a higher-volume workflow, need unlimited shops, larger batches, more storage, or priority support. It includes five MyDesigns Stores with a 3% fee and 10% off the print catalog.
What free users should know
You can start free without a credit card. This is a sensible option if you want to explore the interface and decide whether the workflow fits how you plan to build your POD business.
As of November 6, 2026, the official site shows the code COZY20 and offer text including 20% off, along with 2%, 5%, and 10% off offers. Confirm the current offer and eligibility at checkout, since promotions can change.
Common Beginner Mistakes to Avoid
Skipping product research
A design can be attractive and still fail to connect with a specific buyer. Before creating products, define who the design is for and why that person might want it.
Research should help you refine an idea, not imitate someone else’s artwork or branding. Focus on original interpretations and clear audience needs.
Using the wrong mockup or size
Poor mockups can make a good design look weak. Make sure the mockup matches the product, shows the artwork at a useful size, and does not distract from what you are selling.
Also check text-heavy artwork at small sizes. If the message is difficult to read in a listing thumbnail, simplify it or increase its prominence.
Publishing without checking variants
Variant mistakes are common because product options can multiply quickly. Review the actual colors, sizes, and product details you intend to offer before publishing.
A careful review is a crucial part of how to use MyDesigns effectively. It protects the customer experience and helps you feel more confident about every listing you launch.
Trying to scale too fast
Publishing many products before you understand your workflow can create more cleanup work later. Start with one product, then a small related collection, and only then move into larger batch workflows.
Develop a checklist you can reuse for design quality, mockups, titles, variants, and final publication checks. Consistency is more valuable than speed when you are still learning.
Final Verdict: The Fastest Way to Use MyDesigns for POD
Best use case for beginners
MyDesigns is most useful for beginners who want one workspace for moving from an idea to a finished POD or digital product listing. You can start with AI-generated artwork, the Canvas editor, or designs you already own, then use product, mockup, listing, and publishing tools to complete the workflow.
The fastest approach is not to create a huge catalog. It is to choose one customer-focused idea, build one suitable product, review it carefully, and publish it to one connected sales channel.
When MyDesigns is most valuable
The platform becomes especially valuable when you want to reduce repetitive steps around mockups, listing creation, and publishing. As your catalog grows, bulk workflows, larger batch limits, additional shop connections, and research tools can become more relevant.
Still, the central lesson of how to use MyDesigns is simple: begin with a focused product and a repeatable process. That is the most reliable path to building a catalog you can manage confidently.
Quick next step
If you want an easier all-in-one POD workflow, you can try MyDesigns through this link and begin by creating one product rather than overcomplicating your first session. Start free if you prefer to explore first, then choose a plan based on your actual shop and batch needs.
Official website · Latest pricing & offers
FAQ
What is MyDesigns?
MyDesigns is an all-in-one platform for creating, publishing, and selling print-on-demand and digital products. It brings together design tools, product setup, mockups, listing generation, and publishing features in one workspace.
How do I design my own images in MyDesigns?
You can create artwork with Dream AI, edit or build designs in the Canvas editor, or import existing design assets. The best choice depends on whether you are starting with an idea, creating a custom layout, or already have finished artwork.
How do I design my own products with MyDesigns?
Choose a catalog product, apply your design, adjust its placement, create mockups, and complete the listing data. Once you have reviewed the title, images, variants, and product details, you can publish to a connected sales channel.
How to do custom designs in MyDesigns?
Custom designs can be created in the Canvas editor using your own images, fonts, templates, and AI-generated artwork. You can also import existing assets and refine them before turning them into POD products.
Related Reading
References
- Getting Started with MyDesigns for Etsy Print on Demand
- Welcome to MyDesigns – Documentation
- How To Create Print on Demand Designs with MyDesigns
- MyDesigns Pricing: Starter, Pro and Pro Plus Plans