How to Build a Website with Webflow in 2026
Learning how to build a website with webflow is more approachable than many first-time users expect. You do not need to write code to create a polished marketing site, portfolio, landing page, or small business website. The key is following a clear order: plan the content, choose a starting point, build the structure, refine the design, and test before publishing.
This practical Webflow tutorial 2026 walkthrough focuses on that workflow. I recommend starting small, especially for your first project, so you can learn the Designer without getting lost in unnecessary features or pages.
Official website · Latest pricing & offers
What Webflow Is in 2026 and Who It’s Best For
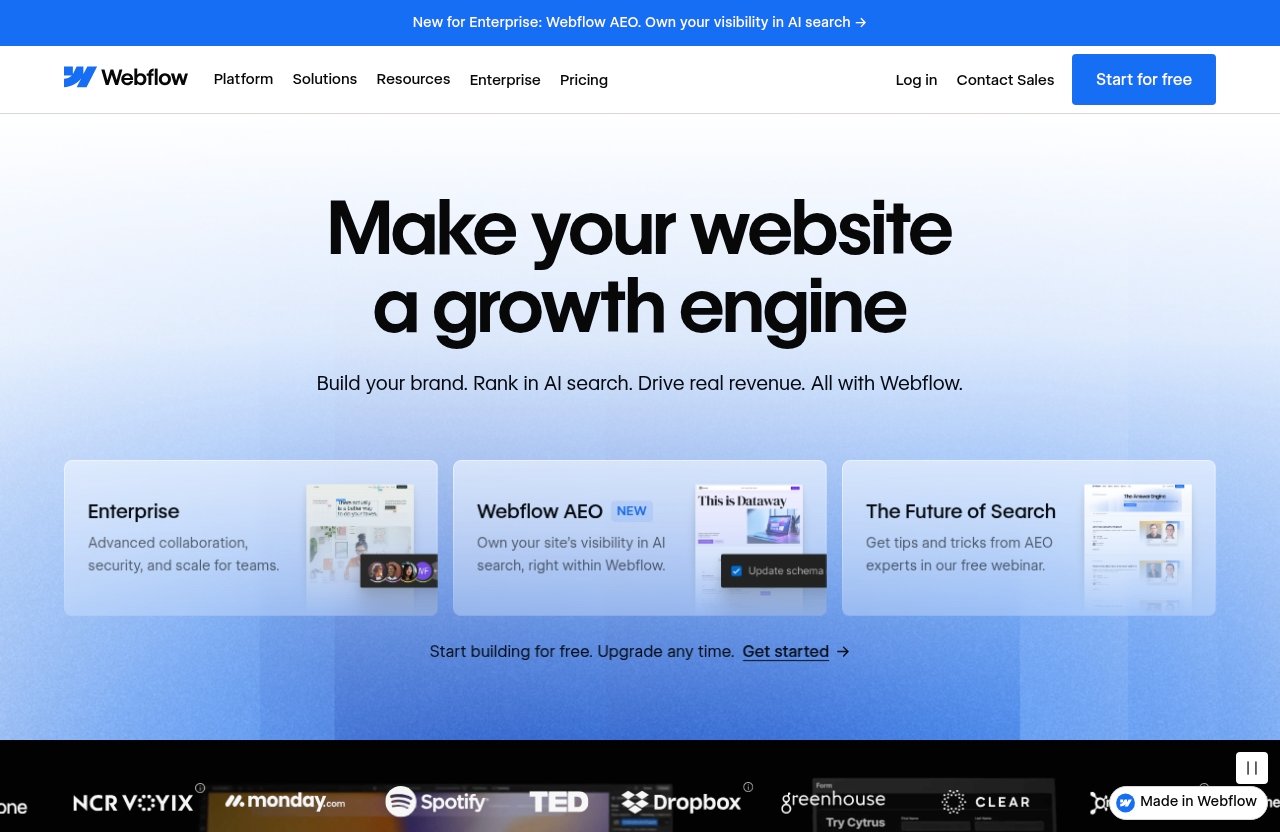
Webflow is an AI-native website platform that lets you visually build, manage, and publish websites. Instead of manually writing every line of front-end code, you work with visual layout tools, style controls, reusable elements, and content structures.
For people researching how to build a website with webflow, the platform is most useful when you want meaningful design control without beginning with a code-first workflow. You can make decisions about page hierarchy, spacing, typography, navigation, and content directly in the visual builder.
Webflow’s Current Positioning as an AI-Native Web Platform
In 2026, Webflow combines visual website building with tools such as Webflow AI, an MCP server, and Webflow Cloud app hosting on supported plans. For beginners, the practical takeaway is simple: you can use AI assistance where it helps, but still maintain control over your site’s structure and brand direction.
Do not treat AI as a substitute for planning. The best results come when you define your audience, message, and page goals before asking any tool to help generate ideas or content.
Best Use Cases for Beginners, Freelancers, Marketers, and Small Businesses
A first Webflow project works well when the site has a clear purpose and a manageable number of pages. Think of a freelancer portfolio, a consultant website, a local service business, a product landing page, or a campaign microsite.
If you are a freelancer, Webflow can also become a useful client-delivery workflow once you are confident with reusable design patterns. Our [Webflow for freelancers guide](/webflow-for-freelancers/) can help you think through that next step.
When Webflow Is a Better Fit Than Code-First Builders
Webflow is a sensible choice when visual flexibility matters and you want to work directly with the building blocks of a responsive website. You can create layouts with sections, containers, grids, text, images, buttons, and navigation elements without starting from a blank code editor.
When deciding how to build a website with webflow, choose it for projects where you want to learn modern website structure while staying in a visual environment. It is not necessary to understand every setting on day one; you only need to master the controls relevant to your first site.
Before You Start: What You Need to Build Your First Site
The fastest way to slow down a site build is to open the Designer before you have basic content prepared. A little planning prevents late changes to navigation, pages, and layout.
Before you begin how to build a website with webflow, prepare a simple project folder and write down the outcome you want from each page.
Clarify Your Website Goal and Page Count
Start with one primary goal. For example, do you want visitors to request a quote, book a call, view your work, join a mailing list, or understand your services?
Then list the pages you truly need. For a first site, a focused structure is easier to build and easier for visitors to navigate.
| Website type | Useful first pages |
|---|---|
| Freelancer portfolio | Home, Work, About, Contact |
| Service business | Home, Services, About, Contact |
| Simple launch site | Home, FAQ, Contact |
| Marketing campaign | Landing page, Thank You page |
Write one sentence for each page explaining its job. If a page has no clear job, leave it out until after launch.
Collect Brand Assets, Copy, and Images
Gather your logo, color preferences, font choices, professional photos, product images, testimonials, and contact details. Keep image file names descriptive so you can find them quickly later.
Write rough copy before designing. You do not need final wording for every paragraph, but you should know your headline, service descriptions, calls to action, and key credibility points. This makes how to build a website with webflow feel much more like assembling a plan than staring at an empty canvas.
Choose Between Starting From Scratch or Using a Template
A blank project gives you the cleanest learning experience. You decide every class, layout, and section from the beginning, which is valuable if your goal is to understand how Webflow works.
A template can be faster if you need a professional starting point and are comfortable replacing existing content. A Webflow template tutorial approach is effective when you treat the template as a framework, not as a finished site you publish unchanged.
Step 1: Create Your Webflow Account and Choose a Plan
Create your account, then start a new site from your Workspace. For most first-time users, beginning on the free option is the low-risk way to explore the tools and test your process.
This is the point where how to build a website with webflow becomes hands-on: create the project first, but avoid making plan decisions based only on features you may not need yet.
How to Start for Free With the Starter Site Plan
The Webflow Starter plan is free and designed for exploring and experimenting with Webflow. It includes a Webflow.io domain, two static pages, limited Webflow CMS, 1 GB bandwidth, 50 form submissions, Webflow AI, an MCP server, Webflow Cloud app hosting, and a Free Starter Workspace.
That makes the webflow starter plan useful for learning the Designer, creating a basic practice project, and validating your page structure. A Webflow.io domain is suitable for testing and sharing an early version, while a custom-domain launch may require a different plan.
When Basic, Premium, Team, or Enterprise May Be Relevant
Basic costs $15 per month when billed yearly, per site, plus applicable taxes at checkout. It is intended for simple sites that do not need a CMS and includes a custom domain, 300 static pages, 10 GB bandwidth, unlimited form submissions, password protection, Webflow AI, an MCP server, Webflow Cloud app hosting, and a Free Starter Workspace.
Premium costs $25 per month when billed yearly, per site, plus applicable taxes. It includes everything in Basic, along with Webflow CMS, bandwidth, code components, site search, form file upload, and well-known files. It is the more relevant option for content-rich sites and robust CMS needs.
Team is $2500 per month under an annual contract, while Enterprise has custom pricing. These plans are designed for larger organizations needing broader control, workflows, governance, support, security, and configuration options. Most beginners do not need to evaluate them for a first website.
What Beginners Can Do on the Free Plan
Use Starter to learn page structure, try layout controls, build two static pages, experiment with a limited CMS setup, and understand the publishing process on a Webflow.io domain. It is a practical place to build confidence before paying for a site plan.
If you want to follow along without committing upfront, you can start with Webflow’s free Starter plan and upgrade only when your launch requirements justify it. For more detail, see our explanation of [whether Webflow is free](/is-webflow-free/).
Step 2: Pick the Fastest Build Path
Your starting path affects how quickly you reach a usable homepage. Do not confuse speed with skipping fundamentals: even a template-based build benefits from a clear structure and consistent spacing.
As you learn how to build a website with webflow, choose the route that matches your confidence level and timeline.
Start From a Blank Canvas
Choose a blank canvas if your first goal is learning. Start by adding a section, then a container, then your content elements. This approach teaches you how layouts are assembled rather than hiding the structure behind an existing design.
The tradeoff is that you must make more early choices. Keep those choices simple by using one font family, a small color palette, and a limited set of button styles.
Use a Template to Speed Up Launch
Choose a template when you need to launch quickly and the existing page structure is close to your needs. Replace demo content systematically: begin with global styles, then navigation, then homepage content, then individual pages.
Do not merely swap words and images. Check every section for relevance, remove elements you do not need, and make sure the final copy reflects your own offer. This is one of the most important habits when you build a website with Webflow for beginners.
Decide Whether to Use Webflow AI or Manual Setup
If you are researching how to use Webflow AI, begin with a specific prompt or task rather than asking it to solve the whole website. It can be useful for brainstorming headline directions, page ideas, or starter content concepts.
Manual setup is often better when you have a precise brand style or existing copy. Either way, review everything for accuracy, clarity, and tone before publishing. Your website should reflect decisions you understand and can maintain.
Step 3: Set Up Your Site Structure
Build the skeleton before polishing individual sections. A clear site structure helps visitors move naturally from their question to your answer and then to the next action.
A reliable how to build a website with webflow workflow starts with pages and navigation, not animations or elaborate visual effects.
Create Your Main Pages: How To Build A Website With Webflow
Open the Pages panel and create the pages from your earlier plan. At minimum, create your homepage and any core pages such as About, Services, Work, or Contact.
Keep page names short and understandable. Create a dedicated thank-you page if a form submission is central to your website goal.
Plan Navigation and URL Structure
Your main navigation should contain only the pages visitors need most often. A simple set of links is easier to understand than a crowded menu.
Use logical, readable URL slugs. For example, /services, /about, and /contact are clearer than vague or overly long alternatives. Decide these early so links stay organized as the site grows.
Organize Sections Before Designing
Sketch each page as a sequence of sections. For a service page, that might mean: introduction, service details, process, proof, FAQ, and contact prompt.
This planning step makes how to build a website with webflow less intimidating because every section has a purpose. When you add an element in the Designer, you will know why it belongs there.
Step 4: Build the Homepage in Webflow
Your homepage is usually the first page visitors see, so build it before creating lots of supporting pages. It should communicate who you help, what you offer, why visitors should trust you, and what they should do next.
For beginners learning how to build a website with webflow, a clean homepage with strong hierarchy is more valuable than a visually busy page.
Add Sections in the Right Order
In the Designer, add a main page wrapper, then create sections one at a time. A dependable homepage order is:
- Navigation
- Hero section
- Credibility or trust section
- Services, features, or benefits
- Process or “how it works” section
- Testimonials, proof, or portfolio samples
- FAQ or objection-handling content
- Final call to action
- Footer
Start with the hero. Add a clear headline, a short supporting paragraph, and one primary action. A visitor should understand the value of your site within a few seconds without scrolling.
Use Containers, Grids, and Spacing Correctly
Place content inside containers so text and visuals do not stretch awkwardly across wide screens. Use a consistent maximum content width and reuse the same container behavior across major sections.
Use grids when two or more items need a deliberate column layout, such as service cards, testimonials, or image-and-text blocks. Use flex-style alignment for smaller horizontal groups, such as buttons or navigation items.
For spacing, create a repeatable system rather than guessing every margin. For example, use one spacing size for small gaps, another for standard gaps, and a larger value between sections. This improves consistency and makes later edits easier.
A common lesson in how to build a website with webflow is that clean spacing often improves a design more than adding extra visual decoration. Give headings room to breathe, keep paragraphs readable, and avoid stacking too many unrelated elements together.
Insert Headline, CTA, Trust Signals, and Visuals
Write a headline that states the visitor benefit. “Reliable bookkeeping for independent consultants” is more specific than “Helping your business grow.” Follow it with a brief explanation that clarifies the audience and offer.
Choose one primary call to action, such as “Request a Quote,” “View Our Work,” or “Book a Consultation.” Repeat that action where it makes sense, but do not use competing button labels that confuse visitors.
Trust signals should be real and relevant. Use genuine testimonials, recognizable client relationships you are allowed to share, specific experience, qualifications, measurable outcomes you can substantiate, or portfolio examples. Do not fill this section with vague claims.
Use visuals to reinforce the content. A strong photo, product screenshot, portfolio image, or simple illustration can support the message, while generic decoration should remain secondary. When you understand how to build a website with webflow, you can adjust image placement and grid behavior without rebuilding the entire section.
Before moving on, preview the homepage and read it as a visitor would. Ask: Can I identify the offer? Can I find the next step? Is anything distracting from the main message?
Official website · Latest pricing & offers
Step 5: Design for Mobile, Accessibility, and Speed
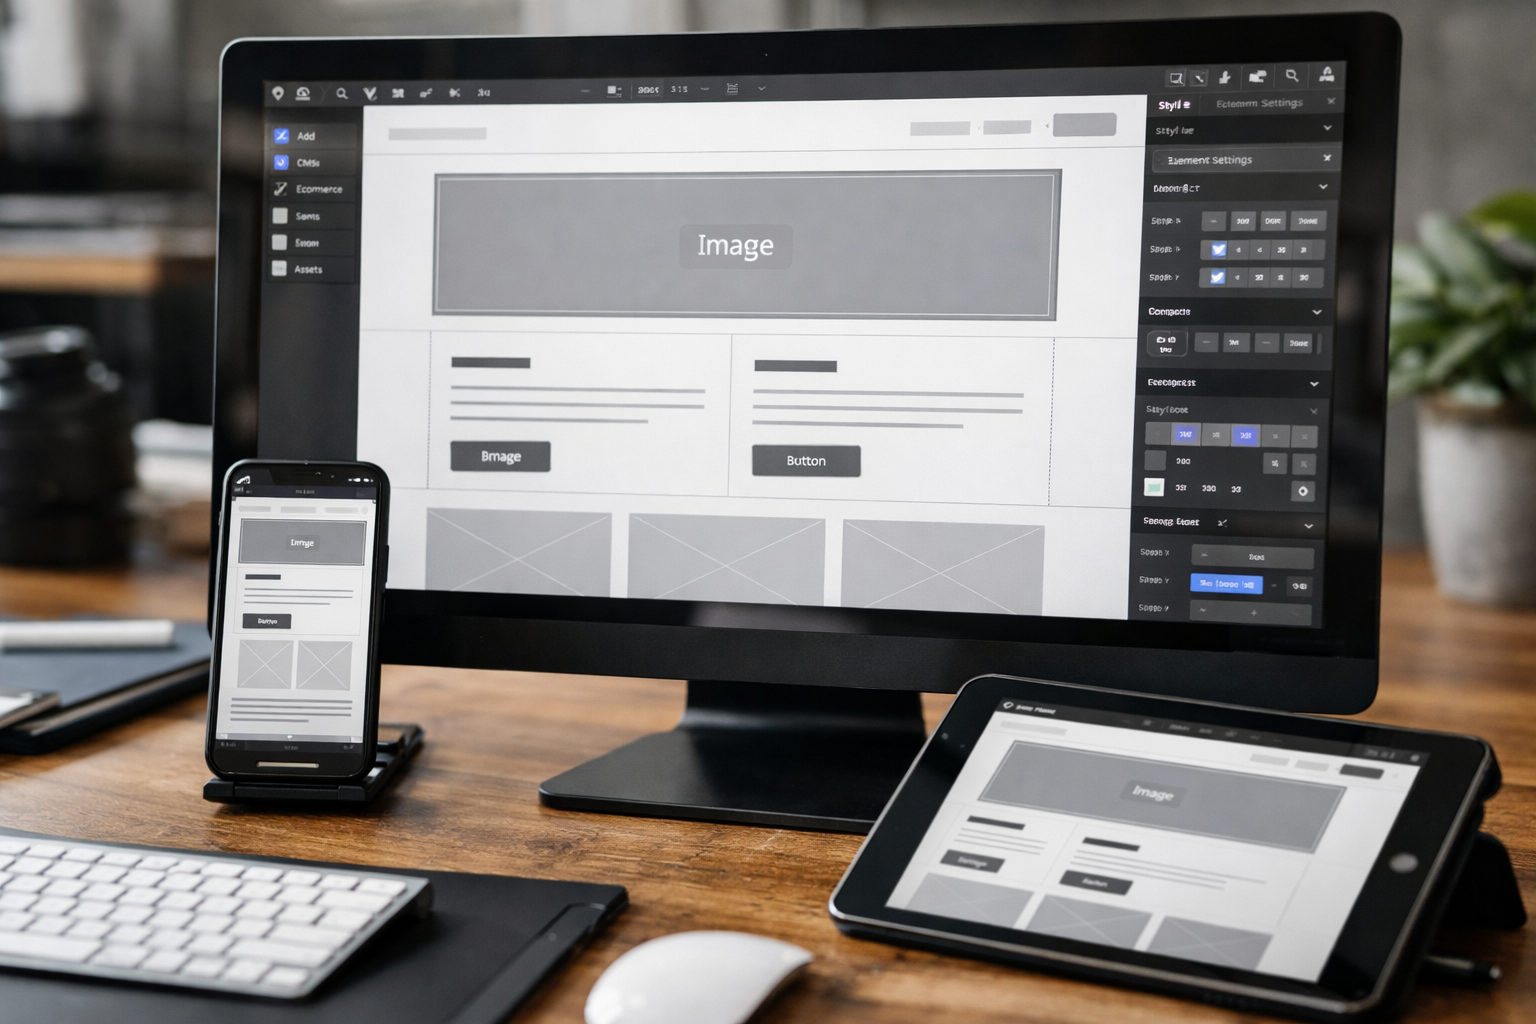
A desktop layout is only the beginning. Review your site at each available breakpoint and make adjustments based on what a person can comfortably read, tap, and understand on a smaller screen.
This stage of how to build a website with webflow is where a functional draft becomes a website that feels considered in real-world use.
Switch Between Breakpoints and Refine Layouts
Start with your primary desktop layout, then switch to smaller breakpoints. Check the navigation, hero section, cards, grids, button groups, and footer first because these areas often need the most adjustment.
Stack multi-column sections where necessary. Reduce overly large heading sizes, remove fixed dimensions that create awkward wrapping, and make sure images do not overwhelm the screen.
Make Buttons, Typography, and Images Mobile-Friendly
Buttons should have clear labels and enough room to tap without accidentally selecting a neighboring link. Avoid putting several small actions tightly together.
Use readable font sizes and comfortable line spacing. Limit paragraph width so visitors are not reading long, dense lines. Resize and crop images intentionally, then check that important parts of the image remain visible on smaller screens.
Keep the Design Accessible and Lightweight
Use logical heading order: one main page heading followed by supporting headings in sequence. Do not choose colors that make text hard to distinguish from its background, and avoid using color as the only way to communicate meaning.
Add useful alt text to meaningful images. Decorative images generally do not need descriptive alt text. Keep motion restrained and purposeful, particularly when it could distract visitors from reading or interacting.
For faster, cleaner pages, upload appropriately sized images and avoid adding visual effects just because they are available. Knowing how to build a website with webflow includes knowing when to leave a layout simple.
Step 6: Add CMS, Blog, or Dynamic Content if Needed
Not every website needs dynamic content on day one. A small service website with a few fixed pages can remain static and easy to maintain.
However, CMS planning matters when you expect to publish articles, case studies, team profiles, resource pages, or a portfolio that will expand over time.
When To Use Webflow CMS for Blogs
Use Webflow CMS when you need repeatable content types with a consistent layout. A blog is the most familiar example: each post follows a structure, while the title, author, image, category, and body content change.
For a content-rich blog, Premium includes Webflow CMS and is the more suitable plan. Read our [Webflow CMS for blogs guide](/webflow-for-blogs/) if publishing is a major part of your website strategy.
How Content Collections Help Scalable Sites
Think of a Collection as a structured content library. Instead of manually designing a new page for every case study or article, you create a template once and add new entries through the Collection.
Plan the fields before building. For a portfolio, you might need project title, summary, client type, featured image, services, project URL, and results. For a blog, you may need title, publish date, author, summary, featured image, category, and article body.
This is a useful stage in how to build a website with webflow because it separates content management from repetitive page design. Create only the fields you will actually use.
When a Simple Static Site Is Enough
A static approach is enough for a brochure-style business site, a small portfolio, or a campaign page that changes infrequently. It is also the best first project if you are still learning layout fundamentals.
You can always expand later once you have a real reason to publish ongoing content. Do not add a blog merely because other websites have one; add it when you can maintain it with useful material.
Step 7: Connect Domain, SEO, and Launch Settings
Treat launch as a checklist, not a single publish action. A final review protects you from avoidable issues such as broken links, missing page titles, incomplete forms, and mobile layout problems.
Your how to build a website with webflow project is ready to launch when the site supports a visitor’s journey from entry point to desired action.
Connect a Custom Domain
If you are using Starter, you can publish to a Webflow.io domain while learning and testing. Basic includes a custom domain, so it is relevant when you are ready to launch a simple site under your own domain.
Follow the domain connection instructions in your project settings carefully and verify the address before sharing it publicly. Keep the process deliberate: domain setup is not the moment to rush through settings you do not recognize.
Set Basic SEO Elements and Metadata
Review page settings for each important page. Write a unique page title that describes the page clearly, then add a concise description that accurately summarizes what visitors will find.
Use one clear main heading on every page and descriptive headings for the content underneath. Make navigation labels meaningful, use readable URLs, and ensure images have appropriate alt text where needed.
Review Forms, Password Protection, and Publishing
Test every form yourself. Submit a test entry, check that required fields work as intended, and make sure the follow-up experience is clear. The Starter plan includes 50 form submissions; Basic includes unlimited form submissions.
If you need password protection, Basic includes it. Before publishing, check the site in preview mode and work through this Webflow website launch checklist:
- Review every navigation link and button.
- Check desktop and mobile breakpoints.
- Test forms and confirmation messaging.
- Read page titles, headings, and body copy for errors.
- Confirm contact details, social links, and legal information.
- Remove placeholder text, unused pages, and irrelevant template content.
- Review the homepage as a first-time visitor would.
Common Beginner Mistakes to Avoid
Most first-site problems come from trying to do too much too soon. Focus on a clear message, consistent layout, and a properly tested path to contact or conversion.
Avoiding these mistakes will make how to build a website with webflow far less frustrating.
Overcomplicating the First Build
Do not begin with a large site, elaborate interactions, numerous fonts, or a dozen color choices. Build a smaller version that you can complete and improve.
A complete four-page site with a clear goal is more valuable than an unfinished twenty-page concept. Save ambitious features for a second iteration, when you understand the platform and have feedback from real visitors.
Ignoring Structure and Spacing
Random spacing creates a site that feels inconsistent even when the colors and images are good. Use containers, repeatable gaps, and a limited typography scale from the start.
Similarly, do not skip information architecture. Visitors should not have to guess where to find services, proof, pricing information if relevant, or contact details.
Launching Without Testing Forms and Mobile Views
A broken form is a costly oversight for any business website. Test it before launch, then test it again after publishing.
Also inspect every important page on smaller breakpoints. Many issues in how to build a website with webflow only become obvious when a desktop row wraps into an awkward mobile stack.
What to Do After Launch
Launching is the start of your website’s improvement cycle, not the finish line. Give visitors time to interact with the site, then use feedback and observed behavior to prioritize changes.
The best post-launch updates are usually small and focused: clarifying a headline, improving a call to action, adding a needed FAQ answer, or simplifying a confusing page section.
Track Performance and Improve Pages
Decide which actions matter most to your website: inquiries, form submissions, page visits, downloads, or consultation requests. Review those outcomes regularly and look for pages that are not moving visitors toward the next step.
When a page underperforms, start with its message and structure before redesigning everything. Improve one meaningful variable at a time so you can understand what changed.
Iterate Based on Analytics and Feedback
Ask real users or trusted clients to complete a simple task, such as finding a service or submitting an inquiry. Their questions often reveal unclear labels, hidden information, or unnecessary steps.
Keep a short improvement list rather than making random edits. This gives your Webflow site a healthier maintenance rhythm and helps you protect the consistency you created during the first build.
Scale With More Pages, CMS, or Team Workflows
Add pages only when they support a real visitor need or business goal. If articles, projects, or resources become a regular part of your plan, consider moving to a CMS-focused setup such as Premium.
For now, the most practical next step is to apply this guide on a small project. Once you know how to build a website with webflow, you can confidently start free, refine your first pages, and explore an upgrade only when your domain, content, traffic, or collaboration needs require it.
Official website · Latest pricing & offers
FAQ
Can I build a website with Webflow for free?
Yes. The free Starter plan includes a Webflow.io domain, two static pages, 1 GB bandwidth, 50 form submissions, limited Webflow CMS, Webflow AI, an MCP server, Webflow Cloud app hosting, and a Free Starter Workspace. It is a practical way to learn how to build a website with webflow before committing to a paid plan.
Is Webflow good for beginners in 2026?
Yes, particularly when you follow a focused process. Start with a small site, choose a blank project or suitable template, build the homepage first, and use the Starter plan to learn at your own pace.
Do I need to know how to code to build a website with Webflow?
No. Webflow is suitable for no-code beginners who want visual control over page layout and design. Advanced users may extend projects further, but coding is not required to follow the core workflow in this tutorial.
What’s the difference between Webflow Starter, Basic, and Premium?
Starter is free and intended for exploring and experimenting. Basic is $15 per month when billed yearly, per site plus applicable taxes, and includes a custom domain, 300 static pages, 10 GB bandwidth, unlimited form submissions, and password protection.
Premium is $25 per month when billed yearly, per site plus applicable taxes. It includes everything in Basic, plus Webflow CMS, bandwidth, code components, site search, form file upload, and well-known files. This makes Premium more suitable for content-rich websites.
Can I launch a blog on Webflow?
Yes. If you want an ongoing blog with dynamic posts and a scalable content structure, Webflow CMS is the relevant option. Premium includes Webflow CMS and is better suited to content-rich sites with robust CMS needs.
Related Reading
- Webflow CMS Review: Is It Good for Blogs?
- Is Webflow Free? 2026 Plan Breakdown
- Webflow for Blog Sites: Pros and Cons
References
- Webflow homepage
- Webflow pricing page
- How to design a website in 10 steps + examples – Webflow
- Webflow University: Learn Webflow