Webflow for Beginners: Complete 2026 Guide
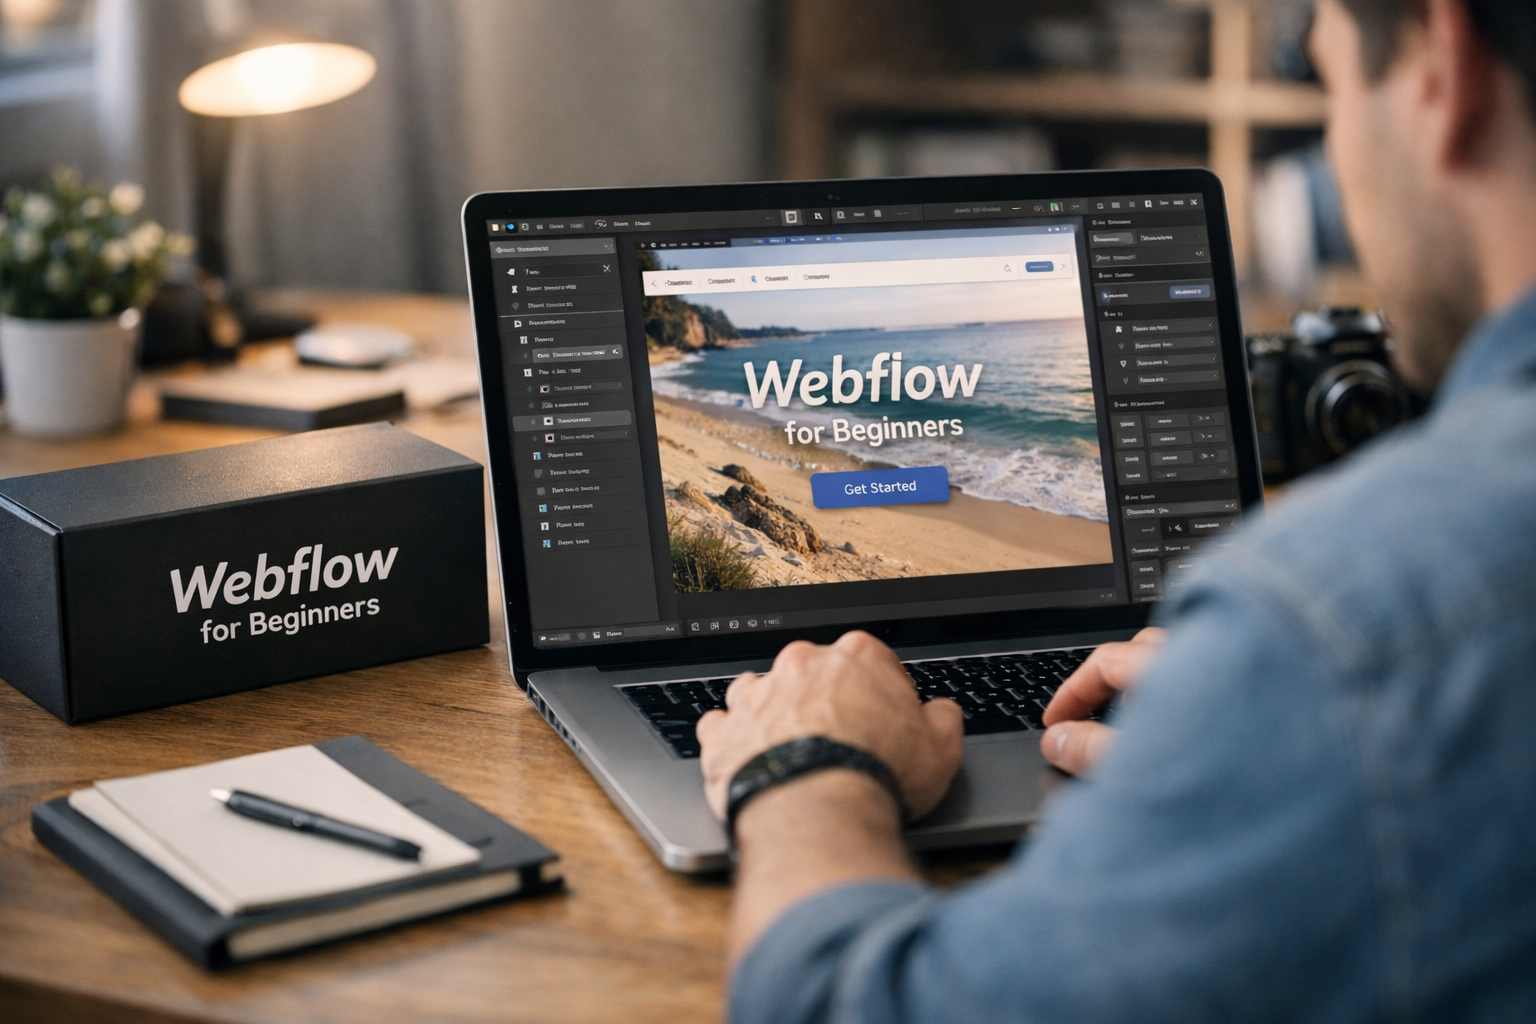
Starting with webflow for beginners can feel intimidating because the platform gives you more design control than a simple drag-and-drop site builder. The fastest way to make progress is not to learn every setting first. Instead, build one small, clear website, publish it, and improve from there.
This guide walks you from signup to a first live site in 2026. You will learn what Webflow does, which plan makes sense, the essential terms to know, and a practical launch process that avoids common early mistakes.
Official website · Latest pricing & offers
What Webflow Is and Why Beginners Choose It in 2026
A Plain-English Explanation of Webflow for Beginners
Webflow is a visual website-building platform where you design pages, organize content, manage hosting, and publish a site from one place. You work in a visual canvas, but the layout tools are based on real web design concepts such as sections, spacing, responsive breakpoints, and reusable styles.
For webflow for beginners, the important point is that you do not need to start by writing code. You can create a simple portfolio, service site, landing page, or small business website visually. At the same time, learning basic layout principles will make your results much better.
Webflow’s wider platform includes website design tools, CMS capabilities, hosting, SEO-oriented settings, and AI features. You do not need to use every feature on day one. A focused first project is the best way to learn what you actually need.
Webflow University is the official free education source and a reliable place to confirm how features work. It is especially useful when a design setting or publishing option is unfamiliar.
Who Webflow Is Best For: Creators, Freelancers, Marketers, and Small Businesses
Webflow works well for people who want more control over their site’s visual structure without beginning with a fully custom development process. A freelancer can build a portfolio and contact page. A marketer can create a focused campaign page. A small business can launch a clear services website with essential information.
It is also a practical choice for creators who want a polished home for their work, writing, or offerings. If you expect to publish repeatable content later, the CMS can become useful as your site grows.
The best early use case is usually simple: one homepage, a few supporting pages, and a single action you want visitors to take. That action might be requesting a quote, viewing your work, joining a list, or contacting you.
What Makes Webflow Different From Other Website Builders
Webflow gives you direct control over page structure and visual styling. Rather than thinking only in terms of pre-set page blocks, you can learn how sections, containers, classes, and responsive behavior fit together.
That flexibility is valuable, but it creates a learning curve. A webflow beginner guide should be honest about that: Webflow is easier when you learn the few foundational concepts first instead of trying to recreate a complex website immediately.
The platform is not just a design canvas. It also brings site publishing, content management options, hosting, and settings for search visibility into the same workflow. For a first project, though, keep your goal narrow and your page count low.
The Fastest Beginner Path: From Signup to First Published Site
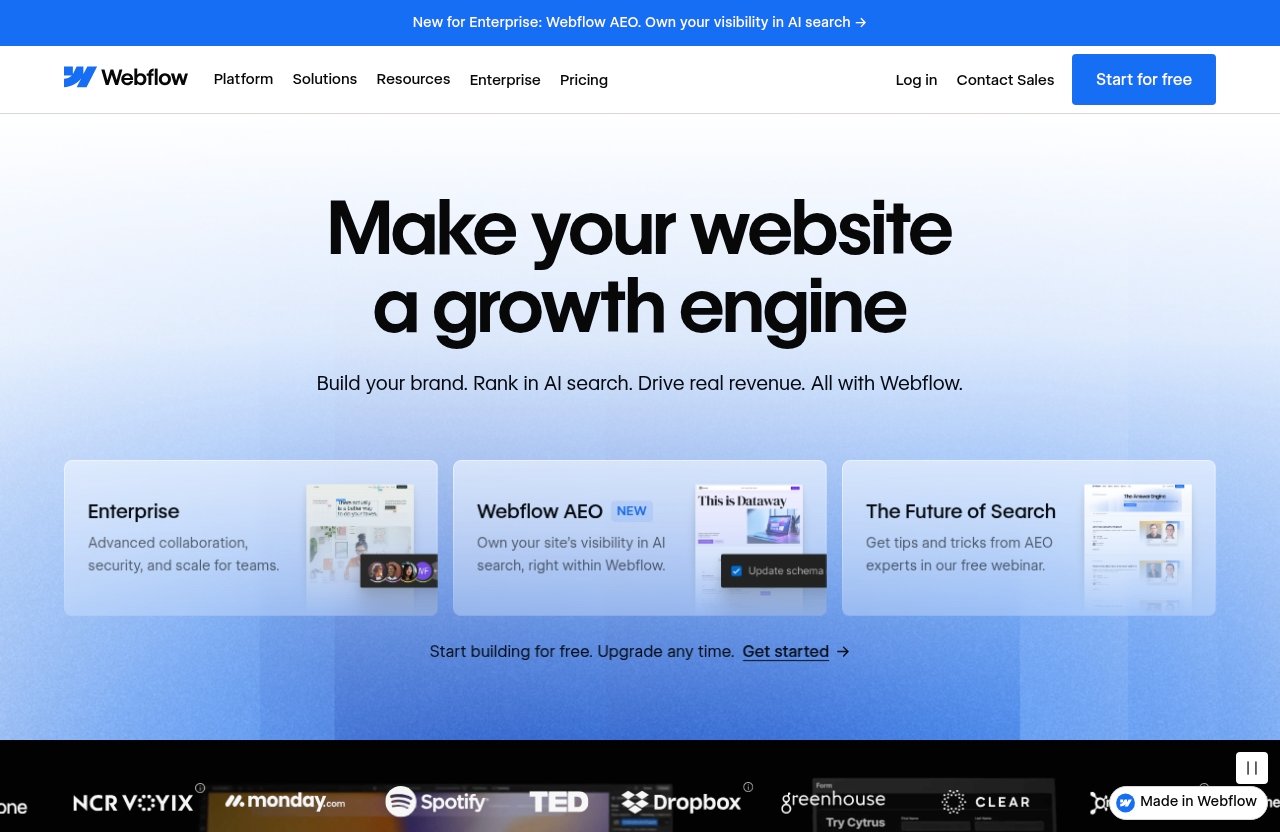
The shortest successful path is to create a basic site that explains who you are, what you offer, and what visitors should do next. Treat the first version as a useful draft, not a permanent masterpiece.
Here is the practical sequence I recommend for webflow for beginners:
- Create an account and open a new project.
- Start with the free plan while you explore.
- Choose a simple template or a blank project.
- Plan your pages and homepage sections before styling.
- Build the homepage first.
- Check tablet and mobile views.
- Publish, test the live link, and make small improvements.
Create Your Account
Create your Webflow account, then use the Dashboard to organize your projects. The Dashboard is where you return to open sites, manage them, and access project-level settings.
Do not worry about creating the perfect workspace organization at this stage. Name your first project clearly, such as “My Portfolio” or “Local Service Site,” so it is easy to find later.
If you are ready to test the platform with a real project, you can explore Webflow through Top Trust Review and follow the beginner process in this guide. Start with a small site goal instead of trying to build a full brand ecosystem immediately.
Pick The Right Starter Plan
Begin with the Starter plan if you are learning, experimenting, or building an early draft. It is free and includes a Webflow.io domain, limited Webflow CMS, two static pages, 1 GB bandwidth, 50 form submissions, Webflow AI, MCP server, Webflow Cloud app hosting, and a Free Starter Workspace.
This is enough to understand the canvas, create a basic structure, and publish an initial version on a Webflow.io domain. If you later need a custom domain or more site capability, you can assess a paid plan based on the specific site you have built.
Choose A Template Or Blank Canvas
A template can help you move faster because it gives you a prebuilt page structure to adapt. Choose one with a layout that already resembles your desired outcome, such as a portfolio, consultant site, or straightforward business homepage.
A blank canvas is often better if your goal is learning the building blocks. You will create more of the structure yourself, but you will understand why each section, container, and class is there.
For most first-time users, a restrained template is a good middle ground. Remove sections you do not need before adding new ones. Editing a simple starting point is easier than untangling a complicated design.
Set Up Your Project Structure Before Design
Before changing colors or fonts, write down the site goal and page list. This prevents a common problem: spending an hour styling a page before deciding what it needs to say.
A simple first-site structure could be:
| Page or Section | Purpose |
|---|---|
| Home | Explain the main offer and direct visitors to an action |
| About | Build trust with a short introduction |
| Services or Work | Show what you do or what you have made |
| Contact | Give visitors a clear way to reach you |
| Footer | Include essential navigation and contact details |
For a one-page site, these can be homepage sections rather than separate pages. The rule is simple: only add a page when it has a distinct purpose.
Publish Your First Version Fast
Do not wait until every sentence and visual detail feels perfect. Your first published version should be accurate, easy to navigate, and functional. You can refine it after seeing the site live.
Use the Preview mode while building, then publish when you have checked the main pages and navigation. Test the published version yourself on a desktop browser and a phone if possible.
For webflow for beginners, this first launch is an important milestone. It turns Webflow from a collection of tools into a real workflow you understand.
Webflow Pricing For Beginners: Which Plan Should You Start With?
Webflow pricing should match the current needs of your site, not the maximum features you might need in the future. All listed prices are in USD, per site, and applicable taxes are added at checkout. Paid plans are billed yearly where specified.
Starter Plan: When Free Is Enough
The Webflow Starter plan is free and is intended for exploring and experimenting with Webflow. It includes a Webflow.io domain, limited Webflow CMS, two static pages, 1 GB bandwidth, 50 form submissions, Webflow AI, MCP server, Webflow Cloud app hosting, and a Free Starter Workspace.
For a practice project or a very small first draft, this plan is the sensible starting point. It lets you become comfortable with the canvas and publishing flow before making a payment decision.
Basic Plan: When You Need A Custom Domain
The Webflow Basic plan costs $15 per month when billed yearly. It is intended for simple sites that do not need a CMS.
It includes a custom domain, 300 static pages, 10 GB bandwidth, unlimited form submissions, password protection, Webflow AI, MCP server, Webflow Cloud app hosting, and a Free Starter Workspace.
Choose the webflow basic plan when your site is mostly fixed pages, such as Home, About, Services, and Contact, and you want to use your own domain name. It is a logical next step for a simple professional website.
Premium Plan: When CMS Content Matters
The Webflow Premium plan costs $25 per month when billed yearly. It is designed for content-rich sites with robust CMS and traffic needs.
It includes everything in Basic, plus Webflow CMS, bandwidth, code components, site search, form file upload, and well-known files. A webflow cms beginner should consider this plan when the site needs a repeatable content structure, rather than a handful of static pages.
For example, a collection of articles, projects, team members, or resources may be easier to organize as CMS content than as individually built static pages. Do not move to this plan simply because you think a CMS sounds advanced; use it when your content truly repeats in a structured way.
How To Avoid Paying For Features You Do Not Need Yet
Start with the simplest plan that supports your current publishing goal. A practice project belongs on Starter. A straightforward custom-domain site without CMS needs points toward Basic. A site built around repeatable content may justify Premium.
| Plan | Price | Best Starting Use |
|---|---|---|
| Starter | Free | Learning, experimenting, and publishing a small draft on a Webflow.io domain |
| Basic | $15/month, billed yearly | Simple custom-domain sites without CMS needs |
| Premium | $25/month, billed yearly | Content-rich sites that need Webflow CMS and added capabilities |
| Team | $2,500/month, annual contract required | Growing teams needing greater control |
| Enterprise | Custom pricing | Organizations needing enterprise-ready scale and advanced governance |
Team includes everything in Premium, plus Site & Workspace, Webflow Localize, AEO agents, publishing workflows, single-page publishing, site activity log and API, foundational governance, enhanced security and compliance, and priority support. Enterprise includes everything in Team, along with enterprise-ready scale, granular permissions, custom roles, advanced governance, secure integrations, a dedicated account manager, enhanced SLAs, and custom configurations.
For most readers learning webflow for beginners, Starter, Basic, and Premium are the plans worth considering first.
Webflow Basics You Must Understand Before Building
Learning a few terms upfront will save time and reduce frustration. You do not need a technical deep dive, but you should know what each part of the builder is responsible for.
Dashboard Vs Canvas
The Dashboard is your project hub. It is where you access and organize your Webflow projects.
The canvas is the visual building area inside a project. This is where you add elements, arrange sections, style content, and preview how the site will appear at different screen sizes.
Pages, Sections, Containers, And Components
Pages are individual destinations, such as Home or Contact. Sections divide a page into meaningful horizontal areas, like a hero, services block, testimonial area, or footer.
Containers help keep content aligned and prevent text or images from stretching too widely. They are useful for maintaining a readable, consistent layout.
Components are reusable design pieces. A navigation bar, button group, or footer can be treated as a reusable element so you can maintain consistency. Begin with only a few repeated elements; overbuilding components early can slow you down.
Classes, Styles, And The Box Model
A class is a reusable set of style choices applied to an element. For instance, you might create one heading style and use it for major page headings, rather than manually changing each heading separately.
The box model is a simple way to think about space around an element:
- Content: the text, image, or item itself.
- Padding: space inside an element’s boundary.
- Margin: space outside the element that separates it from nearby elements.
- Border: the visible edge, if you choose to use one.
This is often the moment when a webflow tutorial for beginners becomes more useful than generic design inspiration. When a layout looks crowded or misaligned, inspect spacing before adding more visual effects.
CMS Collections And Content Structure
A CMS collection stores repeated types of content in a structured format. Think of it as a group of similar items with the same fields, such as a list of blog posts with titles, summaries, images, and authors.
Static pages are better for unique content that rarely changes. A homepage, privacy page, or contact page is usually static. A growing list of articles or case studies may be better suited to a CMS structure.
Do not force every piece of content into a collection. The simplest structure is usually the best structure for a first website.
Responsive Design Basics
Responsive design means checking that your layout works across different screen sizes. A desktop layout may need smaller text, stacked columns, or simplified spacing on tablet and mobile.
Build the desktop version first if that feels easiest, then preview tablet and mobile before publishing. Check each major section rather than assuming one adjustment fixes the entire page.
Good webflow responsive design is usually less about adding complexity and more about preserving readability. Make buttons easy to find, keep line lengths comfortable, and avoid tightly packed content.
Official website · Latest pricing & offers
Your First Website Build: A Simple Step-By-Step Workflow
This mini workflow is realistic for one focused sitting. The goal is a complete, clear first version—not a complicated site with every possible feature.
Step 1: Define Your Site Goal And Sitemap
Write one sentence that describes the purpose of your site. For example: “This site helps potential photography clients view my work and send an inquiry.”
Then create a short sitemap. A first webflow first website may only need Home, About, Services or Work, and Contact. If you cannot explain why a page exists, leave it out for now.
Step 2: Add Your Homepage Structure
Build the homepage in a logical order:
- Hero section with a clear headline.
- Short explanation of what you offer.
- Services, benefits, or featured work.
- Trust-building information, such as an introduction or relevant proof.
- Clear contact or next-step section.
- Footer.
Write rough copy before styling heavily. Clear words make it much easier to judge whether the layout is doing its job.
Step 3: Style Typography, Spacing, And Buttons
Choose a limited type system: one style for major headings, one for subheadings, and one for body text. Keep the body text readable and avoid using too many font sizes.
Next, create consistent spacing between sections and within content blocks. Apply the same button styling wherever you use a primary action, such as “Contact Me” or “Request a Quote.”
For webflow for beginners, consistency is more valuable than visual novelty. A simple design with predictable spacing feels more polished than a page with many unrelated styles.
Step 4: Add Images, Navigation, And Footer
Use images that support the page’s message. A portfolio site needs examples of work; a service site may need relevant photography, illustrations, or simple visual context. Avoid adding images solely to fill empty space.
Your navigation should help visitors reach the most important pages quickly. Keep labels clear, and include the same essential links in the footer along with relevant contact details.
Step 5: Preview On Mobile And Tablet
Preview your key pages on desktop, tablet, and mobile views. Check for broken lines, oversized images, cramped buttons, columns that should stack, and navigation issues.
Use this beginner-safe webflow launch checklist before you publish:
- Define the site goal.
- Draft a short sitemap.
- Create the homepage structure.
- Style typography and spacing.
- Add images, navigation, and footer.
- Preview mobile and tablet layouts.
- Publish and test the live site.
A completed small site teaches more than an unfinished large one. Publish the functional version, collect feedback, and improve one area at a time.
Webflow University And The Best Free Learning Resources
Best Official Starting Point For Webflow For Beginners
Webflow University is the official free learning resource and the best first stop when you are learning the platform. It provides structured education that is more reliable than trying random techniques from unrelated sources.
Start with the Getting started with Webflow course. It covers what Webflow is, how to navigate the Dashboard and canvas, and how your role fits into the way the team works.
That course gives you enough context to understand what you are looking at before you begin building. It is a much better on-ramp than trying to memorize every panel in the interface.
What To Learn First Inside Webflow University
Prioritize these subjects in order:
- Dashboard and canvas navigation.
- Basic page structure.
- Sections, containers, and layout.
- Classes and reusable styles.
- Responsive views.
- Publishing basics.
- CMS fundamentals when your project actually needs them.
This sequence gives you a usable foundation without overwhelming you. The most effective webflow free course is the one you apply immediately to a small project.
How To Combine Tutorials With Hands-On Practice
Watch a short lesson, then recreate the idea in your own project. For example, after learning about spacing, adjust the spacing on your hero section. After learning responsive design, check one content block on mobile.
Avoid watching hours of tutorials without building anything. If you are wondering how to learn Webflow efficiently, use a loop of learn, apply, preview, and repeat.
Keep a short list of questions that arise while building. Search the official educational material or documentation for those specific questions rather than wandering through unrelated topics.
When To Use Templates, Docs, And Community Help
Templates are helpful when you need a visual starting point or want to study how a page is organized. They are not a substitute for understanding the content and layout decisions behind your site.
Use official documentation when you need clarification on a specific setting or feature. Community help can be useful for practical opinions and workflow ideas, but verify important platform details against official resources.
A template plus Webflow University is often the most balanced route for a beginner. You get momentum from a starting structure while still learning how to make thoughtful changes.
Common Beginner Mistakes To Avoid
Starting With Advanced Animations Too Early
Animations can be interesting, but they are rarely the reason a first website succeeds. Start with readable text, clear navigation, useful images, and a working contact path.
Advanced movement effects can make a project harder to troubleshoot, especially across screen sizes. Add visual enhancements only after the basic site is complete.
Building Without A Sitemap Or Content Outline
Designing without a content plan often creates a homepage full of disconnected sections. You may have attractive blocks but no clear story for the visitor.
Write the page goal, section order, headlines, and basic calls to action first. This small planning step makes the actual build much faster.
Ignoring Responsive Design Until The End
Leaving mobile review until the final minute can create a pile of layout fixes. Check responsive views as soon as you complete each major section.
For webflow for beginners, it is easier to make small adjustments continuously than to repair an entire page after it is finished. Keep columns, images, and buttons under review as you build.
Confusing CMS Content With Static Pages
Not every page needs CMS content. If an item is unique and rarely updated, a static page is usually simpler.
Use a CMS collection when you have many similarly structured items to manage. Starting with static pages is often the right move for a first site unless repeatable content is clearly central to your plan.
Publishing Before Proofreading
Previewing the design is not the same as reviewing the actual visitor experience. Before launch, read every headline, test every navigation link, and check that contact details are correct.
Also look at the live published site, not only the canvas preview. A simple final quality check protects your credibility.
SEO, AEO, And Launch Basics For A First Webflow Site
Webflow For Beginners: Basic On-Page SEO Checklist
SEO begins with clear content and logical page structure. Give each page a specific topic and write a useful, descriptive page title and meta description through the available site settings.
Use one clear main heading for each page, then organize supporting ideas with meaningful subheadings. Write image alternative text when an image adds information or context.
Basic webflow seo basics are not about chasing shortcuts. They are about helping people and search systems understand what the page covers.
Why Metadata And Structure Still Matter
Metadata helps describe a page’s topic before someone visits it. Page titles and descriptions should be specific, accurate, and written for a real person deciding whether to open the result.
Structure matters for answer-oriented search experiences as well. AEO, or answer engine optimization, starts with organized information: clear questions, direct answers, descriptive headings, and content that genuinely addresses a visitor’s need.
Do not make unsupported promises or use vague marketing language. A direct explanation of your service, process, location when relevant, and next step is more useful than inflated claims.
Simple Publishing And QA Checks
Use this final launch review before publishing your webflow for beginners project:
| Check | What To Review |
|---|---|
| Content | Headlines, spelling, contact information, and calls to action |
| Navigation | Every menu and footer link goes to the intended destination |
| Responsive layout | Key pages are readable on desktop, tablet, and mobile |
| Images | Images are relevant, correctly placed, and have useful alt text where appropriate |
| Page structure | Headings follow a clear hierarchy |
| Metadata | Each important page has a specific title and description |
| Live site | Open the published site and test it as a visitor would |
The first launch does not need to be huge. It needs to be accurate, understandable, and easy to use.
After-Launch Maintenance Habits
After publishing, revisit your site regularly to keep details current. Update service descriptions, project examples, contact information, and any time-sensitive copy.
Pay attention to questions visitors ask. If several people ask the same question, add a short answer to the relevant page or FAQ section. This improves the site for future visitors and helps you make content decisions based on real needs.
As your requirements become clearer, you can revisit webflow pricing and decide whether a plan change is warranted. It is better to upgrade for a defined need than for a vague expectation.
Official website · Latest pricing & offers
FAQ
Is Webflow Easy To Learn?
Yes, especially when you focus on the basics first. Webflow has a learning curve because it introduces real layout concepts, but a simple project and Webflow University make the process manageable.
Avoid trying to master every feature immediately. Learn sections, containers, styles, responsive views, and publishing first.
Is Webflow Still Relevant In 2026?
Yes. Webflow remains relevant in 2026 for people who want a platform that brings visual website design, CMS options, hosting, SEO-related tools, collaboration capabilities, and AI features into a connected workflow.
The practical question is whether its approach fits your needs. It is a strong fit when you want meaningful control over site structure and are willing to learn basic design principles.
What Are The Downsides Of Using Webflow?
The main downside is the learning curve. Unlike the simplest site builders, Webflow asks you to understand ideas such as layout, spacing, classes, and responsive behavior.
Some site needs may also require a paid plan. The best way to avoid frustration is to start small, use the Starter plan for exploration, and add complexity only when your project needs it.
How Can I Learn Webflow Fastest?
Start with the official Getting started with Webflow course in Webflow University, then build one small site immediately. A homepage, an About page, and a Contact page is enough for meaningful practice.
The fastest path for webflow for beginners is hands-on repetition: learn one concept, use it in your project, preview the result, and move to the next concept. Build first, then refine as your confidence grows.
Related Reading
- How to Build a Website with Webflow in 2026
- Webflow CMS Review: Is It Good for Blogs?
- Webflow for Freelancers: How to Package Higher-Ticket Client Builds
References
- Webflow University: Learn Webflow
- Getting started with Webflow
- Plans & pricing | Webflow
- Webflow Tutorial: A Step-By-Step Guide For Beginners 2026