How to Create an Email Sequence in Systeme.io: A Beginner’s Step-by-Step Guide
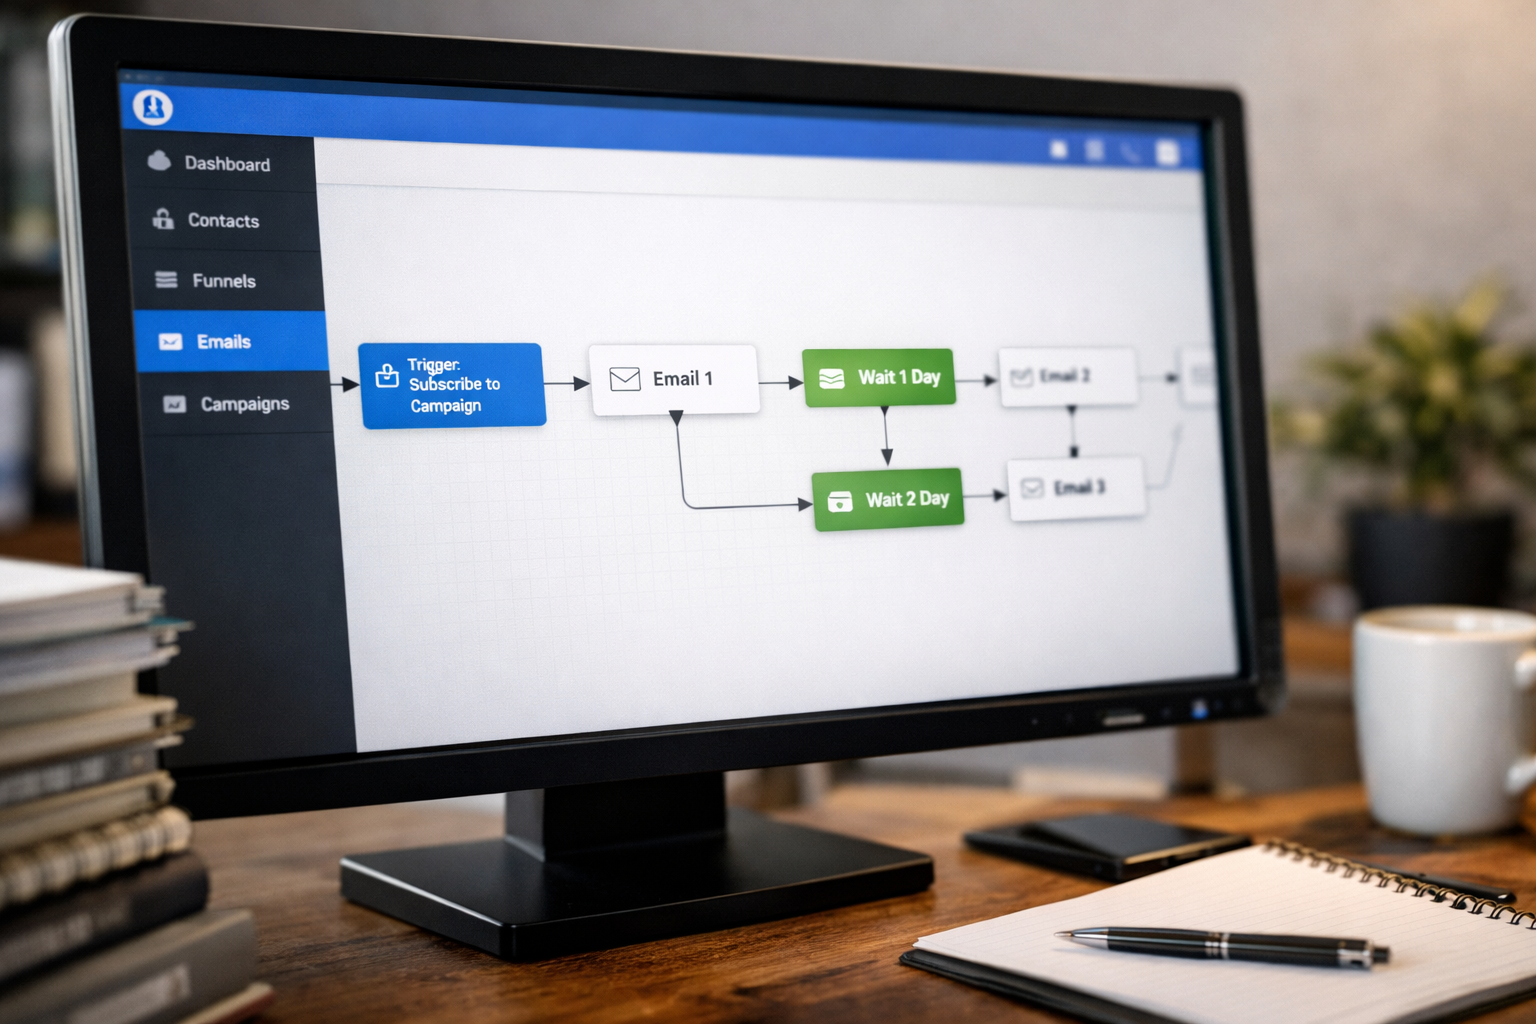
Learning how to create an email sequence in systeme.io gives you a practical way to welcome new leads, build trust, follow up on sales, and onboard customers without sending every email manually. The core workflow is simple: a campaign stores your emails, while an automation rule decides when a contact should enter that campaign.
For solo entrepreneurs, this setup can turn a basic opt-in form into a working email sales funnel. You can start with a short welcome series, test it with your own email address, and improve each message as you learn what subscribers respond to.
Official website · Latest pricing & offers
What an email sequence is in Systeme.io and when to use one
An email sequence is a pre-written series of emails sent in a specific order, usually with delays between messages. Instead of broadcasting one email to everyone at once, the sequence begins when a person takes a qualifying action, such as subscribing through a form or buying a product.
In Systeme.io, the email campaign is the container that holds the sequence. Your systeme.io automation rules then determine when a person is subscribed to that campaign.
This separation is useful. You can create one campaign once, then connect it to different funnels, forms, offers, or audience segments when appropriate.
Email sequence vs. email newsletter
A newsletter is typically a one-time email sent to a group of subscribers at the same moment. For example, you may send a weekly update, article, or promotion to your full list.
An email sequence is behavior-based and automated. A new subscriber who joins today starts at email one, while someone who joined last week may already be receiving email three. When you understand how to create an email sequence in systeme.io, you can use both approaches: sequences for automated journeys and newsletters for timely announcements.
Best use cases: welcome series, lead nurturing, sales follow-up, onboarding, re-engagement
A sequence works best when a contact needs information over time rather than all at once. Common uses include:
| Use Case | What the Sequence Does |
|---|---|
| Welcome series | Introduces your business and sets expectations after an opt-in |
| Lead nurturing | Delivers useful advice, stories, and proof before an offer |
| Sales follow-up | Answers objections and reminds interested leads about an offer |
| Customer onboarding | Helps buyers get started and reduce confusion after purchase |
| Re-engagement | Reconnects with inactive subscribers using a focused message |
The most effective lead nurturing emails have a clear purpose. Avoid trying to educate, sell, tell your full brand story, and ask for a click in one message. One email, one core idea, and one next step is usually easier for a beginner to manage.
Before you start: what you need inside Systeme.io
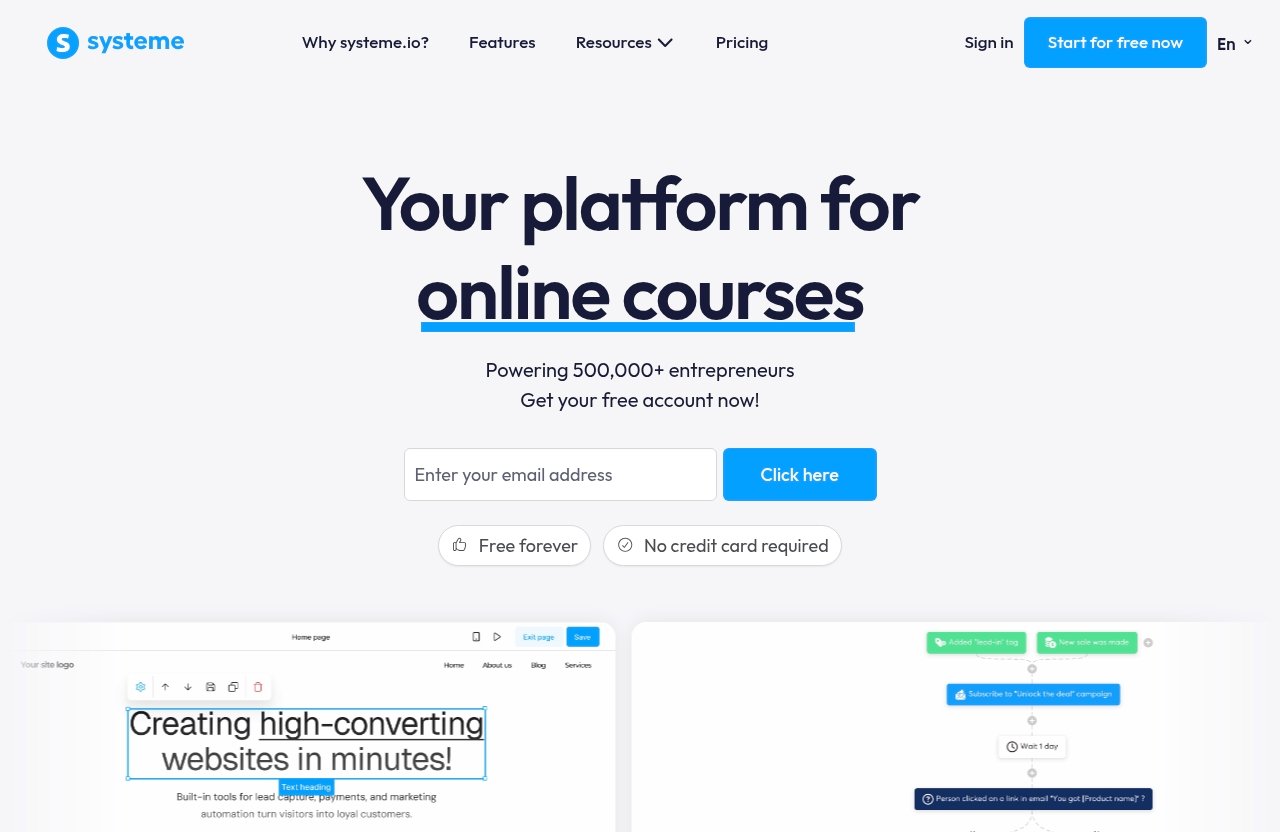
Before working through how to create an email sequence in systeme.io, prepare the basic pieces of your workflow. You do not need a complicated funnel to begin; one signup source and a simple three-email campaign are enough.
A free Systeme.io account
Systeme.io’s official homepage states that it offers a free forever account and that no credit card is required. That makes it practical to build and test an initial automation before deciding how extensively you want to use the platform.
The platform is positioned for sales funnels, email marketing, online courses, selling online, and blogging. If you want one place to connect an opt-in page, follow-up emails, and an offer, you can try Systeme.io through this link and explore whether the workflow suits your business.
A campaign ready to receive subscribers
Create or plan a campaign before building the automation. Think of the campaign as a folder containing your sequence emails in the order subscribers should receive them.
Start with a descriptive internal name. A naming format such as Lead Magnet - Welcome - August 2026 or Customer - Course Onboarding makes it much easier to find the correct sequence later, especially once you create more automations.
A contact list or opt-in source
You also need a way for contacts to enter the sequence. That source could be:
- A funnel opt-in page offering a lead magnet
- A form or popup on a page
- A purchase of a product
- A tag applied to an existing contact
- A manual import or other list-building process
If you are still creating the front end of your funnel, this guide on [how to build a funnel in Systeme.io](/how-to-build-a-funnel-in-systeme-io/) can help you map the visitor journey before connecting the email automation.
Step 1: Create your email campaign
The first practical step in how to create an email sequence in systeme.io is creating the campaign that will store your messages. Do this before setting your trigger so that the automation has a clear destination.
Where to find campaigns in the dashboard
From the Systeme.io dashboard, go to the email marketing area and locate campaigns. This is where you can create, edit, organize, and review the sequences used in your account.
The key distinction to remember is that the campaign does not decide who receives an email. It only holds the email sequence. Subscriber entry is handled later through automation.
How to name and organize your campaign
Name campaigns based on audience, purpose, and entry point. Clear names reduce the risk of connecting a buyer to a lead sequence or sending an onboarding series to someone who has not purchased.
For example, use names such as:
Free Guide Opt-In Welcome SeriesConsultation Leads Nurture SeriesProduct A Buyer OnboardingInactive Subscriber Re-Engagement
When you learn how to set up an email campaign in systeme.io, organization may feel like a minor detail. In practice, it becomes essential once you have several lead magnets, offers, and customer segments.
Creating the first email in the sequence
Create the first email inside the campaign and make it a genuine welcome message. Thank the subscriber, deliver or point them toward the promised resource, and briefly explain what will happen next.
Keep the first email focused. If someone requested a checklist, do not immediately send a long sales pitch. Confirm they made a good decision, provide the requested value, and build a reason for them to open the next email.
Step 2: Write and structure the sequence emails
A campaign can be technically correct and still perform poorly if the emails feel random. The strategic part of how to create an email sequence in systeme.io is designing a progression that matches what the subscriber needs at each stage.
Choose the purpose of each email
Write every email around one clear goal. A simple five-email sequence might look like this:
- Welcome and delivery: Give access to the resource or next step.
- Quick win: Teach one useful, easy-to-apply idea.
- Problem awareness: Explain a common mistake or missed opportunity.
- Solution and proof: Show how your product, service, or process helps.
- Offer or invitation: Ask the reader to take one specific action.
This approach creates a natural path from welcome to value to offer. It also prevents the common mistake of making every email sound like the same promotion.
Use timing gaps between emails
Add sensible delays so your sequence feels helpful rather than overwhelming. A welcome email can usually be sent immediately, while later messages can be spaced over the following days.
There is no universal schedule that works for every business. For a new lead magnet subscriber, you might send the first message immediately, a value email one day later, and a more direct offer after the person has had time to engage. Test the pace based on your audience, topic, and buying cycle.
Map your sequence by funnel stage
An email sales funnel should match the reader’s relationship with your business. New subscribers often need clarity and trust first; buyers need instructions and reassurance instead.
| Funnel Stage | Subscriber Mindset | Helpful Email Content |
|---|---|---|
| New lead | “What did I sign up for?” | Delivery, welcome, expectations |
| Engaged prospect | “Can this solve my problem?” | Tips, examples, educational content |
| Considering an offer | “Why should I act now?” | Benefits, proof, FAQ, objection handling |
| Customer | “How do I get results?” | Setup steps, onboarding, support resources |
Step 3: Add an automation rule to send the sequence automatically
This is the part that makes your campaign operational. For how to create an email sequence in systeme.io, remember this formula: trigger plus action equals automated enrollment.
Go to Automations > Rules
The official help-page workflow is to go to Automations > Rules. Create a rule and choose the event that should start the sequence.
An automation rule is the bridge between a subscriber’s action and your email campaign. Without it, the campaign exists, but contacts are not automatically added to it.
Choose the right trigger: form subscribed, new sale, or tag added
Systeme.io’s official help content lists several useful triggers. Three important examples are:
- Funnel step form subscribed for a person who completes a form on a funnel step
- New sale for a person who purchases
- Tag added for a contact who receives a specific tag
Use Funnel step form subscribed for a lead magnet, webinar registration, consultation request, or basic newsletter signup. The trigger fires when someone submits the selected funnel form.
Use the new sale trigger when a buyer should receive onboarding, delivery instructions, or a customer-only upsell sequence. This helps separate buyer communication from prospect communication.
Use the tag added trigger when you want more targeted automation. For example, you might tag leads based on an interest, selected topic, or completed action, then send only the relevant sequence.
Add the action: Subscribe to campaign
After choosing the trigger, add the action Subscribe to campaign and select the campaign you created. This is the exact action that places the contact into the selected email sequence.
Double-check that you choose the correct campaign name before saving. This small check prevents one of the most frustrating beginner errors: a working rule that sends people into the wrong journey.
For tag-based automation, set up and activate the rule before applying the tag to contacts. A tag added before the rule is in place will not retroactively trigger the automation. During your test, apply the tag only after the rule is ready so you can accurately verify the process.
Official website · Latest pricing & offers
Step 4: Connect the sequence to your funnel or list-building source
Now connect the sequence to the real-world source that generates leads or customers. This is where how to create an email sequence in systeme.io becomes a practical workflow rather than a set of draft emails.
Opt-in page/form/popup connections
For a lead magnet, connect the automation rule to the funnel step containing your opt-in form. Choose the Funnel step form subscribed trigger, select the relevant funnel step, then use Subscribe to campaign as the action.
The resulting flow is straightforward:
Visitor submits form → automation rule runs → contact subscribes to campaign → welcome email begins
A popup or embedded form should serve the same business purpose: capture consent, set a clear expectation, and start a sequence relevant to what the person requested.
Tag-based automation for segmentation
Tags allow you to send more relevant lead nurturing emails. Instead of placing every contact into a generic campaign, you can separate people by interest or behavior.
For instance, a visitor who requests a funnel checklist can receive funnel-focused content, while someone who selects an email marketing resource can receive email-focused lessons. The tag becomes the signal, and the automation rule sends the appropriate systeme.io email campaign.
Do not create too many segments too early. Start with one main audience and one clear tag-based branch only when you have a real reason to personalize the content.
Purchase-based follow-up after a sale
A buyer should not receive the same messages as a new prospect. Set up a purchase-based rule with the New sale trigger to begin a customer sequence after checkout.
A basic customer sequence could include a purchase confirmation, access instructions, a quick-start lesson, and a request for feedback after the customer has had time to use the product. This is a simple way to make your post-purchase experience feel organized without manual follow-up.
Step 5: Test the automation before publishing
Testing is the step that separates a planned sequence from a reliable one. Before sending real traffic into your funnel, test how to create an email sequence in systeme.io from the subscriber’s point of view.
Submit a test opt-in
Use an email address you can access and submit the actual opt-in form yourself. Do not only review the campaign editor; test the page, form submission, and automation path as a real lead would experience them.
If you use a purchase trigger, complete an appropriate test transaction if your setup allows it. If you use a tag, add the selected tag to a test contact only after the automation rule has been configured.
Check campaign subscription
After the trigger occurs, check that the test contact has been added to the intended campaign. Confirm the automation rule ran and that the contact did not enter an unrelated sequence.
This is especially important if you use similar names for multiple campaigns. Testing the subscribe to campaign systeme.io action directly helps you catch setup mistakes before they affect real subscribers.
Review email timing and delivery
Confirm that the first email arrives when expected and inspect it on desktop and mobile. Check the subject line, sender details, links, formatting, and call to action.
Then review the delays for later emails. Make sure the timing makes sense for a new lead or customer. A polished sequence should feel like a helpful conversation, not a rush of disconnected messages.
How to improve results from your Systeme.io email sequence
Once your first automation works, improve it gradually. The goal is not to build a large, complicated system immediately; it is to make each message more relevant and useful.
Segment by behavior or tag
Segmentation improves relevance. When subscribers show a clear interest through a form choice, product purchase, or applied tag, send content that speaks to that interest.
For example, someone who downloads a beginner checklist may need foundational education, while someone who views an offer page may need a concise objection-handling email. Use tags only when they help you send a better message.
Write stronger subject lines and CTAs
A clear subject line makes a specific promise without exaggeration. Rather than using vague phrases such as “Important update,” tell the reader what they will gain: “The 10-minute fix for your welcome email.”
Each email should also have one primary call to action. Ask readers to read a guide, watch a lesson, reply with a question, or view an offer—not all four at once.
Use lead nurturing principles
Good lead nurturing emails earn attention before requesting a sale. Teach something useful, name a common challenge, and explain a practical next step.
When you are deciding how to create an email sequence in systeme.io for sales, focus on the subscriber’s problem rather than your product features. Your offer should feel like a logical solution to the issue discussed in earlier emails.
If you are comparing platforms or planning a more advanced setup later, our [GoHighLevel email marketing guide](/gohighlevel-email-marketing-guide/) and [complete GoHighLevel tutorial for beginners](/complete-gohighlevel-tutorial-for-beginners/) provide useful context for evaluating a different all-in-one workflow.
Avoid common automation mistakes
Avoid these frequent issues:
- Connecting a rule to the wrong campaign
- Sending every lead and customer into one generic sequence
- Adding tags before the tag-triggered rule is active
- Forgetting to test with a real form submission
- Delivering a lead magnet but never following up with useful guidance
- Including too many links or calls to action in one email
- Changing a live automation without checking its impact on new contacts
Review your automation whenever you change a funnel, form, product, or campaign name. Small updates can unintentionally break the connection between trigger and sequence.
Systeme.io pricing and why it matters for email automation
Pricing matters because email automation works best when you can build a complete journey without stitching together too many tools. Still, the right choice depends on your business model, workflow, and growth plans.
Free forever account overview
The official Systeme.io homepage states that users can get a free forever account with no credit card required. This gives beginners room to build a basic campaign and test a funnel-based automation before committing to a larger setup.
For a fuller explanation of what to consider before signing up, see our [Systeme.io free trial explained](/systeme-io-free-trial-explained/) guide.
Why the all-in-one stack can simplify setup
Systeme.io is positioned as a platform for sales funnels, email marketing, online courses, selling online, and blogging. Keeping the form, funnel, campaign, and automation rule in one platform can reduce the number of connections you need to manage.
The official pricing page also confirms that all plans include unlimited emailing, unlimited file storage space, unlimited students, and no transaction fees. These are relevant considerations for creators who want email automation alongside digital products or courses.
When upgrading may make sense
Systeme.io’s official pricing page says “Choose your plan,” “2 months free,” and “Free migration.” However, avoid choosing based on assumptions about plan pricing or limits; review the current official pricing page for the details that apply to your needs.
Upgrading may make sense when your business needs a broader workflow than your initial setup. Start by proving that your lead magnet, offer, and sequence work, then assess which plan supports the next stage.
Final checklist for launching your first sequence
Use this checklist before sending traffic to your funnel. It is a simple way to confirm that your first how to create an email sequence in systeme.io setup is ready.
Campaign created
- Campaign has a clear internal name
- Emails are in the intended order
- Each message has one main purpose
- Welcome email delivers the promised next step
Trigger selected
- You chose the correct trigger for the journey
- Form leads use Funnel step form subscribed
- Customers use New sale where appropriate
- Tag-based sequences use Tag added after the rule is active
Action configured
- The rule includes the Subscribe to campaign action
- The selected campaign is correct
- Your funnel step, product, or tag matches the intended audience
Sequence tested
- You submitted a real test opt-in
- Your test contact entered the correct campaign
- The first email arrived and displayed correctly
- Delays, links, and calls to action were reviewed
The best way to begin how to create an email sequence in systeme.io is with a simple welcome sequence of three to five helpful emails. Once it is live and tested, use subscriber behavior and feedback to improve the timing, content, segmentation, and offer over time.
Official website · Latest pricing & offers
FAQ
What is the difference between a campaign and an automation rule in Systeme.io?
A campaign holds the email sequence itself: the messages, order, and timing. An automation rule decides when a contact is subscribed to that campaign after a trigger occurs.
Can I send an email sequence automatically when someone fills out a form?
Yes. Create a rule under Automations > Rules, select the Funnel step form subscribed trigger, and add the Subscribe to campaign action for your chosen campaign.
Can I trigger a sequence after a purchase in Systeme.io?
Yes. The official help workflow lists New sale as a trigger. You can use it to start customer onboarding, delivery, or follow-up emails after a purchase.
Can I send a sequence based on tags?
Yes. Use the Tag added trigger and connect it to the appropriate campaign. Set up the rule first, then apply the tag to contacts, because tags added before the rule is active will not trigger it retroactively.
Does Systeme.io offer a free account for email marketing?
Yes. The official Systeme.io homepage states that it offers a free forever account and that no credit card is required.
Related Reading
References
- How to automate the sending of an email sequence (email campaign)
- How to set up an email campaign
- The Ultimate Email Automation Guide: Benefits, Examples, and Tools
- Complete Guide: How to Build an Email Sales Funnel