Migrate WordPress to Cloudways Without Downtime: The Practical 2026 Migration Guide
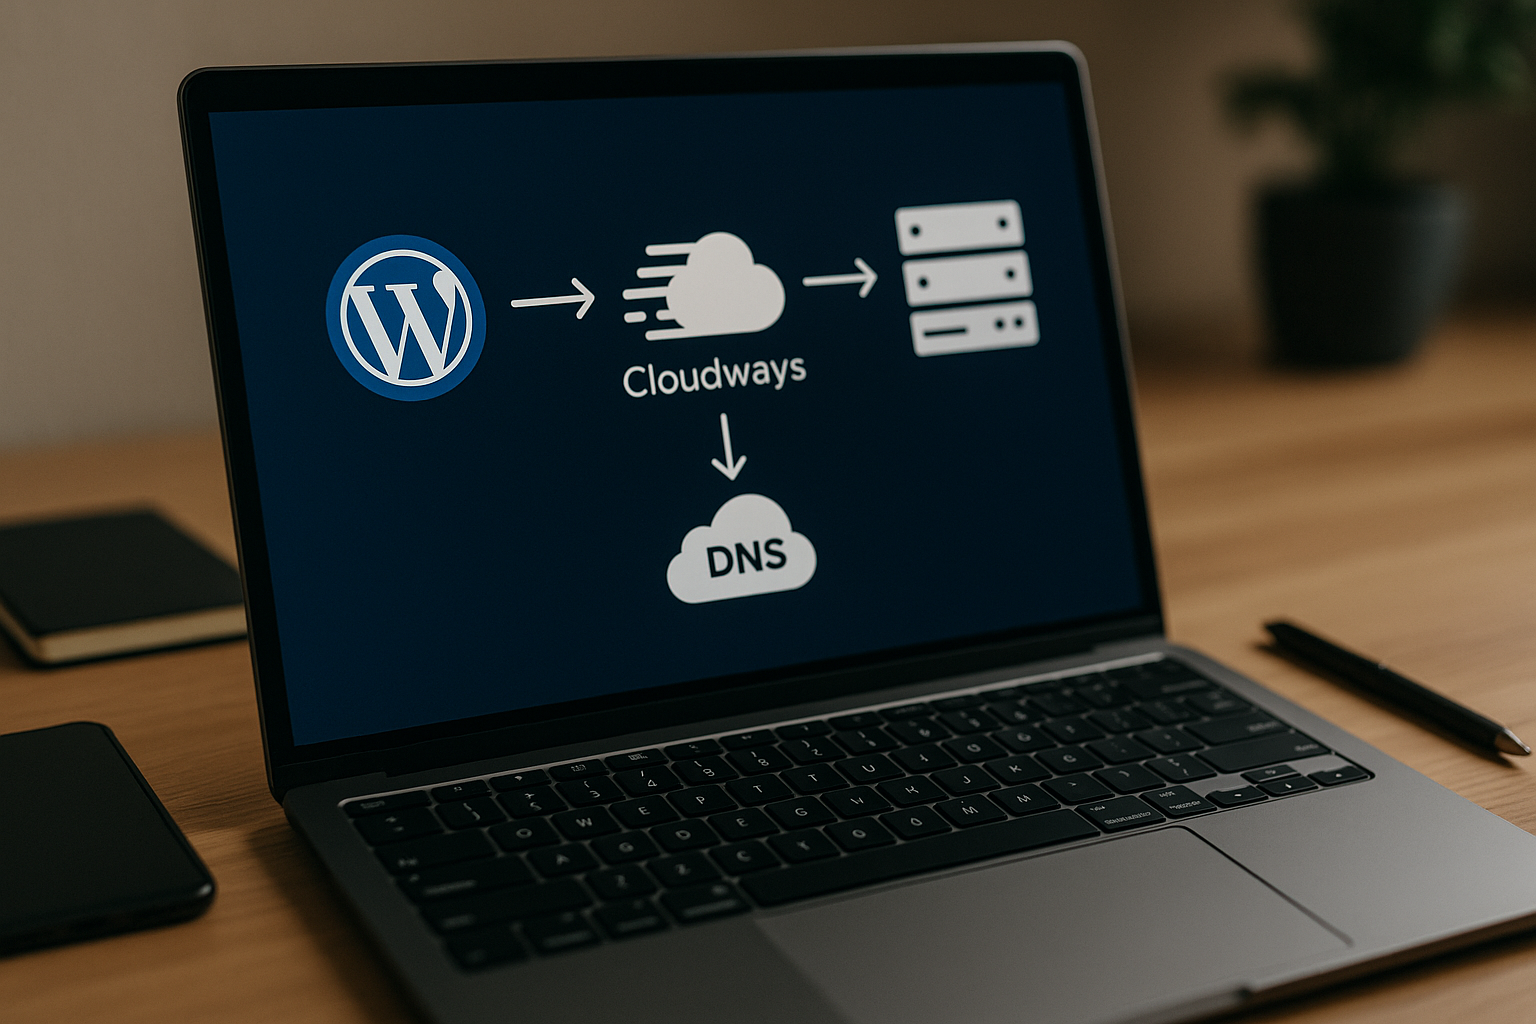
If you want to migrate wordpress to cloudways, the main concern is usually not the copy process itself—it is avoiding broken pages, lost orders, missed leads, or a site that disappears while DNS updates. The safest path is to keep your old host live, copy your WordPress site to Cloudways, test it on the temporary Cloudways application URL, and only switch DNS after everything works.
This guide walks you through the two main Cloudways migration paths: the Cloudways migration plugin and the managed migration Cloudways service. You will also get a zero-downtime cutover plan, pre-migration checklist, SEO checks, and a balanced recommendation on which method fits your site.
Official website · Latest pricing & offers
What ‘Migrate WordPress to Cloudways Without Downtime’ Really Means
A zero downtime WordPress migration does not mean DNS changes happen instantly everywhere. It means your live website stays available while the new copy is prepared, tested, and launched carefully.
When people say they want to migrate wordpress to cloudways without downtime, the practical goal is this: visitors should always reach either the old working site or the new working site, not an error page.
Why downtime happens during host changes
Downtime usually happens when the domain is pointed to the new server before the migrated website is ready. If files are missing, the database import is incomplete, SSL is not active, or WordPress URLs are wrong, visitors can see errors.
Another common issue is DNS propagation. DNS is the internet’s address book. When you change where your domain points, internet providers around the world may take some time to update their records.
During that transition, some visitors may still see your old host while others see Cloudways. That is why the old host should remain active until the new Cloudways site is fully validated.
What you can realistically avoid with a proper migration workflow
With a proper workflow, you can usually avoid visible downtime, broken pages, and lost access to the WordPress dashboard. You can also reduce the chance of missing form submissions, checkout problems, and SEO disruptions.
The key is to copy first, test second, and switch DNS last. This is the same basic process I would recommend to any beginner who wants to migrate wordpress to cloudways with less stress.
You cannot control every DNS cache worldwide, but you can control whether both the old and new hosting environments are working during the transition.
When to use the Cloudways plugin vs managed migration
Use the Cloudways WordPress Migrator if you are comfortable installing a plugin, entering SFTP details, and reviewing the migrated site yourself. It is a good fit for straightforward WordPress sites.
Use the Cloudways free migration service if you prefer expert help, have a business-critical site, or do not want to handle technical details. According to Cloudways’ official migration pages, users can migrate with a free WordPress migration plugin and a free website migration service.
Here is the quick comparison:
| Migration path | Best for | Main advantage | Consideration |
|---|---|---|---|
| Cloudways migration plugin | Standard WordPress sites, hands-on users | Automated process with user control | You handle setup and validation |
| Managed migration Cloudways service | Busy owners, complex sites, beginners | Experts handle the move | You still need to test before DNS cutover |
Why Cloudways Is a Strong Migration Destination
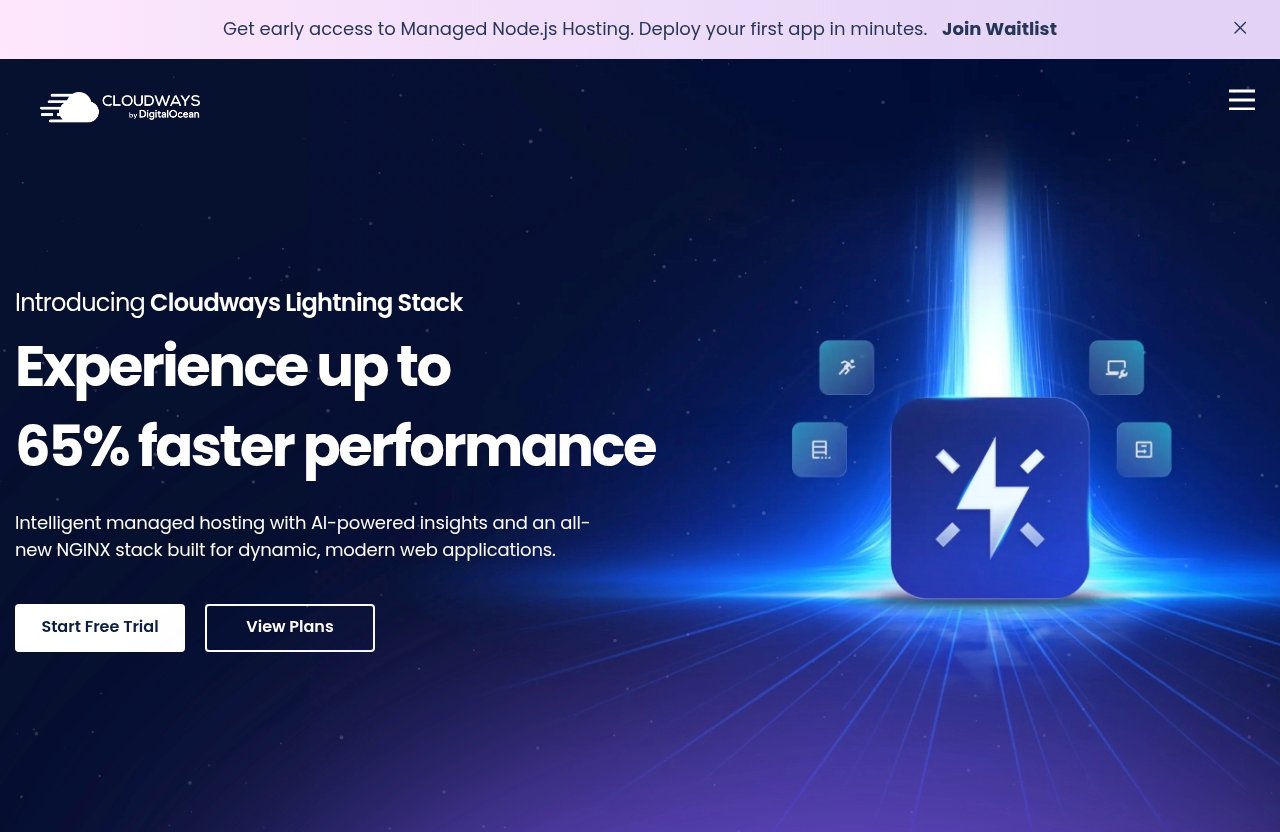
Cloudways is positioned as a managed cloud hosting platform for users who want better control than basic shared hosting without managing raw servers themselves. If your current host feels slow, limited, or difficult to scale, it can be a strong destination when you migrate wordpress to cloudways.
According to Cloudways, the platform is trusted by 100,000+ businesses and empowers 100,000+ businesses. That does not automatically make it perfect for every site, but it does show that Cloudways is built for a wide range of business, agency, ecommerce, and content use cases.
Managed cloud hosting for WordPress
Cloudways Flexible is described by Cloudways as managed hosting with the flexibility to host WordPress, Magento, Laravel, or PHP apps on multiple cloud providers. It includes managed hosting with control, unlimited apps per server, free AI Copilot credit, and the Cloudways Lightning Stack.
That flexibility matters if you want to migrate wordpress site to cloudways and later host more than one project. You are not locked into a single WordPress-only environment.
Cloudways Autonomous is different. Cloudways describes it as fully managed WordPress hosting that handles traffic spikes and keeps applications fast and online without managing servers or scaling. It includes no server management, autoscaling for traffic spikes, prevention of crashes under load, and free Cloudflare Enterprise with a stated “Save $250” message.
Performance, reliability, and 24×7 support
Cloudways highlights its Cloudways Lightning Stack with up to 65% faster performance. As with any hosting performance claim, your real-world results depend on your theme, plugins, database, media size, caching, and site configuration.
Cloudways also states built-in reliability with 24×7 support, world-class server security, and 99.99% uptime. These are official Cloudways claims, and they are relevant when comparing whether a migration is worth the effort.
For many site owners, the reason to migrate wordpress to cloudways is not just speed. It is also the combination of managed hosting, support access, and less server maintenance.
Free migration options and no-server-management benefits
Cloudways states that it offers free migration and free SSL in its features messaging. Its official migration pages also mention both a free WordPress migration plugin and a free website migration service.
This is important for beginners because migration is often the biggest psychological barrier to switching hosts. If you can use a WordPress migration plugin free option or request expert help, the move becomes less intimidating.
The no-server-management benefit is especially useful if you want managed cloud hosting without learning command-line server administration.
Choose the Right Cloudways Migration Method
Before you migrate wordpress to cloudways, decide whether you want the plugin route or the managed service route. Both can work, but the best choice depends on your site’s complexity, your comfort level, and how much risk you can tolerate.
A personal blog and a WooCommerce store should not be treated the same way. A small brochure site may be fine with the plugin, while an ecommerce site needs more careful timing around orders and customer data.
Cloudways WordPress Migrator plugin
The Cloudways WordPress Migrator plugin automates WordPress migrations from another hosting provider to Cloudways. According to Cloudways, it requires Cloudways SFTP details to complete the migration.
According to the WordPress.org plugin listing, the migrator preserves themes and plugins, updates database values automatically, supports minimum downtime for ecommerce, and keeps SEO links intact. I would still treat those as helpful migration features rather than a reason to skip testing.
This route is ideal if you want to migrate wordpress to cloudways free and are comfortable following instructions.
Free expert-managed migration for the first website
Cloudways’ free website migration page says Cloudways offers free migration for your first website, handled by experts. It also says WordPress users can migrate unlimited sites at no cost using the WordPress migration service.
That makes managed migration appealing if you want a safer hands-off move. You provide the required access details, Cloudways’ team handles the migration, and you review the result before DNS changes.
For non-technical users, this can be the easiest way to migrate wordpress site to cloudways without getting stuck in SFTP, database, or plugin configuration issues.
Which method fits single-site, multisite, agency, and ecommerce cases
For a single standard WordPress site, the Cloudways migration plugin is often the fastest practical route. It gives you control and avoids waiting for someone else to perform the copy.
For an ecommerce store, membership site, LMS, or busy lead-generation site, managed migration may be a better fit. These sites often have active transactions, user accounts, form data, and integrations that need extra care.
For agencies, the choice depends on volume and process. A team comfortable with migrations may prefer the WordPress migrate plugin free route for repeatable projects, while complex client sites may justify managed help.
| Site type | Recommended method | Why |
|---|---|---|
| Small blog | Plugin migration | Simple structure and lower risk |
| Business brochure site | Plugin or managed migration | Depends on owner comfort |
| WooCommerce store | Managed migration or carefully timed plugin migration | Orders and payments need extra care |
| Membership site | Managed migration | User data can change frequently |
| Agency portfolio | Plugin migration | Efficient for straightforward client sites |
| Complex multisite | Managed migration | More moving parts and testing needs |
Before You Start: Pre-Migration Checklist
Preparation is what makes a zero downtime WordPress migration realistic. Do not start by changing nameservers or DNS records. Start by making the existing site safe, documented, and recoverable.
If you want to migrate wordpress to cloudways with minimal risk, complete this checklist first.
Back up your WordPress files and database
Create a full backup of your WordPress files and database before making changes. Files include themes, plugins, uploads, and core WordPress assets. The database includes posts, pages, settings, users, orders, and plugin data.
Keep this backup somewhere separate from your current hosting account. A backup is your fallback if a plugin conflict, corrupted file, or interrupted migration causes issues.
Lower DNS TTL in advance
TTL means “time to live.” It tells DNS systems how long to remember your current hosting address before checking for updates.
Lowering TTL before migration can help DNS changes spread more predictably when you switch to Cloudways. Do this well before the final cutover, because the old TTL may still be cached for a while.
This is one of the simplest ways to make the final step smoother when you migrate wordpress to cloudways.
Collect Cloudways SFTP and WordPress admin details
The Cloudways WordPress Migrator requires Cloudways SFTP details. Before starting, make sure you have the needed Cloudways application and server access information ready.
You should also confirm that you can log into your current WordPress admin dashboard. If you are using managed migration, gather the access details Cloudways requests and avoid changing passwords during the process.
List critical plugins, forms, payments, and emails
Make a short list of anything that directly affects revenue, leads, or users. This may include contact forms, checkout pages, payment gateways, email marketing integrations, CRM connections, booking tools, and membership plugins.
Your pre-migration checklist should include:
- Full WordPress files backup
- Full database backup
- Current DNS records copied or exported
- DNS TTL lowered in advance
- Cloudways SFTP details ready
- WordPress admin login confirmed
- List of critical URLs to test
- Payment, form, and email integrations documented
- Maintenance or low-traffic window chosen if needed
- Rollback plan prepared
How to Migrate WordPress to Cloudways Using the Free Migrator Plugin
The plugin method is the most direct way to migrate wordpress to cloudways if you want hands-on control. It is designed to automate the move from another hosting provider to Cloudways.
The exact interface may change over time, so treat the steps below as a practical high-level workflow rather than a screen-by-screen tutorial.
Install and configure the plugin
Start by launching your Cloudways WordPress application. Then go to your existing WordPress site, open the plugin area, and install the Cloudways WordPress Migrator.
This is the WordPress migration plugin free route many users choose because it avoids manual database exports and file transfers. Before running it, disable unnecessary maintenance tools or security rules that may block migration requests.
Keep your current site live during this step. You are copying the site, not replacing it yet.
Enter Cloudways SFTP details
The plugin requires Cloudways SFTP details. These details tell the migrator where to send your WordPress files and database.
Double-check the destination application before you start. Sending a migration to the wrong application can create confusion, especially if you manage multiple Cloudways projects.
This is also a good time to confirm your Cloudways temporary application URL, because you will use it later for testing.
Run the migration and monitor progress
Start the migration and let the plugin complete the process. Avoid editing posts, changing plugin settings, or processing major site updates while the migration is running.
According to WordPress.org’s plugin listing, the migrator preserves themes and plugins and updates database values automatically. That can help reduce manual cleanup, but it does not remove the need for validation.
For ecommerce or membership sites, choose a quieter traffic period. Even if the plugin supports minimum downtime for ecommerce according to WordPress.org, active orders and user data deserve extra caution.
Verify front-end, links, forms, and login access
After the migration finishes, open the temporary Cloudways application URL. This is where you test the copied site before pointing your real domain to Cloudways.
Check the homepage, main navigation, blog posts, product pages, contact forms, checkout flow, login page, and admin dashboard. Also test internal links and media files.
At this stage, you have not changed DNS yet. That is exactly why this workflow can help you migrate wordpress to cloudways with less user-facing risk.
How to Use Cloudways Managed Migration for a Safer Hands-Off Move
Managed migration is the better option if you do not want to manage the technical details yourself. It can also be the safer path for business-critical sites where a mistake would cost more than the time saved by doing it yourself.
Cloudways’ official migration pages mention a free website migration service, and its free website migration page says the first website migration is handled by experts.
Request the migration
Start by requesting migration through the official Cloudways process. Provide accurate access details for your current host, WordPress admin, and Cloudways destination.
Do not remove plugins, change domains, or update credentials after submitting the request unless you coordinate those changes. Consistency helps the migration team complete the copy smoothly.
Confirm site scope and timing
Clarify what is being moved. For most WordPress sites, this includes files, database, themes, plugins, uploads, and settings.
If your site handles orders, bookings, memberships, or course activity, choose a migration window carefully. The goal is to reduce the chance of new data being created on the old site after the final copy.
This is especially important when you migrate wordpress to cloudways from a busy production environment.
Test the migrated copy on the temporary Cloudways URL
Once the managed migration is complete, test the site on the temporary Cloudways application URL. Do not rush into DNS changes just because the copy appears finished.
Browse the site like a real visitor. Submit a test form, review product pages, check images, test login, and inspect important SEO elements.
A managed migration reduces technical workload, but validation is still your responsibility as the site owner.
Switch DNS only after validation
Only point your domain to Cloudways after the migrated site passes your checks. This is the main rule for avoiding downtime.
If something looks wrong, ask for help before changing DNS. It is much easier to fix problems while visitors are still safely using the old host.
Official website · Latest pricing & offers
Zero-Downtime Cutover Strategy
This is the practical heart of the process. A zero downtime WordPress migration depends less on the copy tool and more on how you handle the cutover.
To migrate wordpress to cloudways safely, think in phases: prepare, copy, test, sync if needed, switch DNS, monitor, and keep the old host temporarily available.
Keep the old host live during testing
Do not cancel your old hosting immediately. Keep it active during the entire migration and for a short safety period after DNS changes.
This protects visitors during DNS propagation. If some networks still point to the old server, they will still see a working site instead of an expired hosting error.
A simple process flow looks like this:
| Phase | What happens | Visitor impact |
|---|---|---|
| 1. Prepare | Backups, TTL, access details | Visitors stay on old host |
| 2. Copy | Plugin or managed migration copies site to Cloudways | Visitors stay on old host |
| 3. Test | Review temporary Cloudways URL | Visitors stay on old host |
| 4. Cutover | DNS points domain to Cloudways | Visitors gradually reach new host |
| 5. Monitor | Check forms, SSL, cache, analytics | Both environments are watched |
| 6. Retire old host | Cancel only after confidence period | Visitors use Cloudways |
Use the temporary Cloudways app URL for QA
The temporary Cloudways application URL lets you inspect the migrated copy before your domain points to it. This is one of the most important safeguards in the whole workflow.
Use it to test pages, media, logins, forms, checkout, and plugin behavior. If your theme uses hardcoded domain references, this is where you may notice missing assets or mixed content warnings.
Testing first is what turns a risky host change into a controlled migration.
Point DNS only after successful checks
When the Cloudways copy is working, update your DNS records to point your domain to Cloudways. Depending on your setup, this may involve changing an A record or other domain-related records.
Do not change DNS before SSL, URLs, core pages, and forms have been tested. DNS cutover should be the final launch step, not the first migration step.
This sequence is the safest way to migrate wordpress to cloudways while keeping the public site available.
Watch propagation and cache behavior
DNS propagation means different networks may recognize the new hosting location at different times. Some visitors may reach Cloudways quickly, while others may temporarily continue seeing the old host.
Caching can also affect what you see. Browser cache, WordPress cache, CDN cache, and DNS cache may all show older content.
After cutover, test from different devices, networks, and browsers. If you use a CDN or caching plugin, clear caches after confirming the Cloudways site is ready.
Post-Migration Checks to Prevent SEO and UX Problems
Migration is not finished when the site loads. You still need to check SEO signals, user experience, tracking, and conversion paths.
This is where many site owners lose traffic or leads—not because the migration failed, but because small details were missed.
Check SSL, redirects, and canonical URLs
Cloudways states that it offers free SSL in its features messaging. Once your domain points to Cloudways, confirm the SSL certificate is active and pages load securely over HTTPS.
Check redirects from HTTP to HTTPS, non-www to www or the reverse, depending on your preferred domain. Also verify canonical URLs so search engines understand the correct version of each page.
If you want to migrate wordpress to cloudways without SEO confusion, keep your URL structure consistent whenever possible.
Test forms, checkout, and email deliverability
Submit test forms and confirm the messages arrive. If your site sends order emails, booking confirmations, password resets, or lead notifications, test those too.
For WooCommerce or other payment systems, use a safe test mode where appropriate. Confirm checkout pages, cart behavior, tax settings, and payment gateway connections.
Email is often overlooked because it may be handled outside WordPress. Make sure DNS changes do not disrupt MX records or third-party email services.
Verify speed, caching, and mobile layout
After migration, check the site on desktop and mobile. Review layout, menus, images, popups, and interactive elements.
Then check caching behavior. A migrated site may need cache clearing or plugin reconfiguration to work correctly in its new hosting environment.
Cloudways highlights its Lightning Stack with up to 65% faster performance, but your real results depend on proper site setup. A bloated theme or poorly configured plugin can still slow things down.
Submit updated sitemap if needed
If your URLs stayed the same, you may not need to submit a new sitemap immediately, but it is still wise to verify that your sitemap loads correctly. If anything changed, submit the updated sitemap in your search engine tools.
Post-migration validation checklist:
- HTTPS works across the site
- Redirects resolve correctly
- Canonical URLs are accurate
- XML sitemap loads
- Robots.txt is not blocking search engines
- Contact forms send successfully
- Checkout or lead flows work
- Analytics and tracking scripts fire
- Mobile layout looks correct
- Important pages return normal status codes
- Cache and CDN are cleared
- WordPress admin login works
Common Migration Mistakes to Avoid
Most migration problems are preventable. The biggest mistakes happen when site owners rush the DNS cutover or assume the copied site is perfect without testing.
If your goal is to migrate wordpress to cloudways smoothly, avoid the following issues.
Changing DNS too early
Changing DNS before testing is the most common avoidable mistake. It turns your new Cloudways copy into the live site before you know whether it works.
Always test the temporary Cloudways URL first. Only point DNS after the site passes your checks.
Forgetting email or third-party integrations
Web hosting and email hosting are not always the same thing. If your current host also handles email, changing DNS without preserving email records can interrupt mail delivery.
Also check CRM tools, analytics scripts, ad pixels, booking systems, payment gateways, and API connections. These integrations may depend on domain settings, IP allowlists, or plugin configurations.
Not testing a staging or temporary URL
The temporary Cloudways application URL is there for a reason. Skipping this step removes your chance to catch problems before visitors see them.
Test as a visitor and as an administrator. Check your highest-value pages first: homepage, landing pages, pricing pages, product pages, checkout, and contact forms.
Skipping backups and rollback planning
Even a reliable migration process should have a rollback plan. A backup gives you options if something unexpected happens.
Before you migrate wordpress to cloudways, know how you would return traffic to the old host if needed. Keep your old hosting active until you are confident the Cloudways version is stable.
Is Cloudways Worth It After Migration?
Cloudways can be worth it if you want managed cloud hosting, flexible application hosting, and a platform designed to reduce server-management workload. It is especially appealing if your current host is limiting performance, support, or scalability.
That said, the right choice depends on your site, budget, technical comfort, and growth plans.
Who benefits most from switching
Cloudways is a strong fit for site owners who want more control than basic shared hosting without managing servers directly. Agencies, growing blogs, WooCommerce stores, service businesses, and developers may all benefit from the managed cloud model.
The platform’s official messaging around 24×7 support, world-class server security, 99.99% uptime, free SSL, and migration options makes it attractive for users who want a more serious hosting environment.
If you plan to migrate wordpress to cloudways, the value is strongest when you also use the move as a chance to clean up plugins, improve caching, and verify SEO basics.
When the platform is a good fit
Cloudways Flexible may be a good fit if you want managed hosting with control, unlimited apps per server, and the ability to host WordPress, Magento, Laravel, or PHP apps on multiple cloud providers.
Cloudways Autonomous may be a good fit if you want fully managed WordPress hosting that handles traffic spikes without managing servers or scaling. According to Cloudways, it includes autoscaling for traffic spikes and helps prevent crashes under load.
If you prefer flexible and transparent pricing information, review Cloudways’ current pricing page directly rather than relying on outdated third-party numbers. The verified product facts provided here do not include specific plan prices, so it is best to check the official current details.
When another host may be better
Cloudways may not be the best fit if you want the simplest possible beginner hosting dashboard and do not need cloud flexibility. It may also be more platform than necessary for a tiny hobby site with no performance or growth concerns.
If you want bundled domain registration, email hosting, and ultra-basic setup in one place, compare your workflow carefully. Cloudways can still be a strong hosting choice, but you should understand what is included and what you manage separately.
The balanced view: Cloudways is best for users who want managed cloud performance and control, not for users who want the most hands-off entry-level hosting bundle.
Final Verdict and Call to Action
If you want to migrate wordpress to cloudways with minimal downtime, the safest approach is straightforward: keep your old host live, copy the site first, test on the temporary Cloudways application URL, then switch DNS only after validation.
Cloudways gives you two practical migration paths: the free plugin route for hands-on users and the managed migration route for site owners who want expert help.
Best path for most users
For most standard WordPress sites, the Cloudways migration plugin is a practical starting point. It automates the move, uses Cloudways SFTP details, and according to WordPress.org, preserves themes and plugins while updating database values automatically.
For higher-risk sites, managed migration is the more reassuring choice. It reduces technical work and lets you focus on validation, SEO, and launch timing.
If you are ready to compare the current Cloudways options and start your migration plan, you can review Cloudways through our partner link here: visit Cloudways via TopTrustReview.
Who should choose plugin migration
Choose plugin migration if you run a normal WordPress site, want hands-on control, and are comfortable testing the temporary Cloudways URL before DNS cutover.
It is also a good fit if you specifically want a WordPress migrate plugin free option and do not mind handling the setup yourself.
Who should choose managed migration
Choose managed migration if you are a beginner, have a revenue-generating site, run WooCommerce, manage memberships, or simply want an expert-handled process.
The final recommendation is simple: if your site is straightforward, use the plugin; if your site is business-critical, use managed migration. Either way, the best way to migrate wordpress to cloudways is to validate first and cut over last.
Official website · Latest pricing & offers
FAQ
Can I migrate WordPress to Cloudways without downtime?
Yes, you can typically migrate WordPress to Cloudways without visible downtime if you copy the site first, test it on the temporary Cloudways application URL, and switch DNS only after validation. Keep the old host live during DNS propagation.
Does Cloudways offer a free WordPress migration?
Yes. Cloudways’ official pages mention a free WordPress migration plugin and a free website migration service. Cloudways also says it offers free migration for the first website handled by experts, and WordPress users can migrate unlimited sites at no cost using the WordPress migration service.
Which is better: the Cloudways migration plugin or managed migration service?
Use the Cloudways migration plugin if you want hands-on control and a quick automated process. Use managed migration if you prefer experts to handle the move or your site is complex, busy, or business-critical.
Will my themes, plugins, and database move too?
According to the WordPress.org plugin listing, the Cloudways WordPress Migrator preserves themes and plugins and updates database values automatically during the migration. You should still test the migrated site carefully before switching DNS.
How do I minimize SEO risk during migration?
Keep URLs the same where possible, verify redirects and canonical URLs, test the temporary Cloudways site, and avoid DNS changes until the new site is fully checked. Also confirm SSL, sitemap access, internal links, and analytics after launch.
Related Reading
References
- Free WordPress Migration Plugin For Hassle-Free Migration
- Cloudways WordPress Migrator – WordPress plugin
- Free Website Migration to Cloudways Managed Hosting
- How to migrate your WordPress site to Cloudways