How to Use Cloudways: Beginner Setup Tutorial
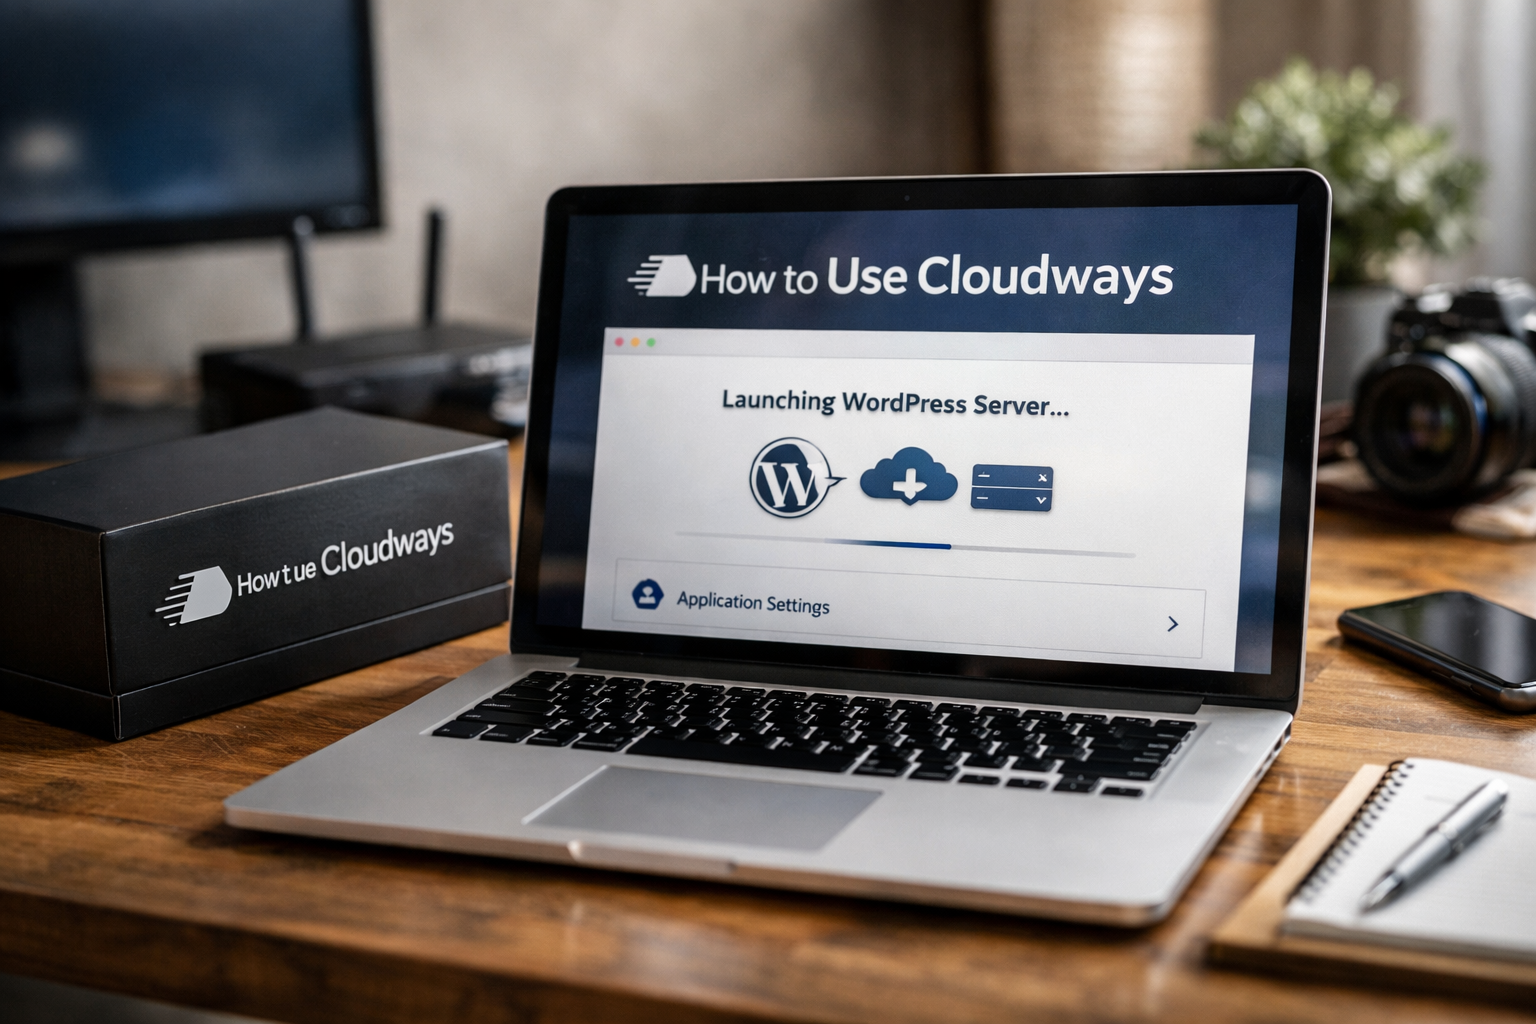
Learning how to use cloudways is much less intimidating when you treat it as a guided setup process rather than a technical hosting project. Cloudways provides managed cloud hosting for applications such as WordPress, WooCommerce, Laravel, Magento, and PHP, while giving you a dashboard to launch and manage your site.
This Cloudways tutorial is written for first-time users who want to get a WordPress website online without dealing with every server task manually. Some links in this guide are affiliate links, which means toptrustreview.com may earn a commission if you sign up, at no extra cost to you.
Official website · Latest pricing & offers
What Cloudways Is and Who It’s Best For
Quick Explanation of Cloudways in Plain English
Cloudways is a managed cloud hosting platform. In plain English, it helps you deploy a website on cloud infrastructure while providing a simpler control panel for important tasks such as application management, security options, support, and SSL setup.
When you learn how to use cloudways, you are not buying a traditional shared hosting account with a basic website installer. Instead, you choose an application, select a cloud provider, launch a server, and manage your site through the Cloudways platform.
Cloudways officially supports WordPress, Laravel, Magento, WooCommerce, and PHP applications. For this beginner guide, the focus is WordPress because it is usually the most approachable option for a new blog, portfolio, business site, or small online store.
Who Should Use Cloudways: Bloggers, SMBs, Agencies, Developers, Ecommerce
Cloudways can suit several kinds of users:
- Bloggers who want managed WordPress hosting with room to grow.
- Small and medium-sized businesses that need a professional website without handling every server task themselves.
- Agencies managing websites for clients.
- Developers working with Laravel, PHP, Magento, or custom projects.
- Ecommerce owners using WooCommerce or Magento.
For a beginner, the biggest advantage is that Cloudways gives you a structured path to deployment. You still make key choices, but you do not need to build a server environment from scratch.
When Cloudways Is a Better Fit Than Shared Hosting
Cloudways may be a better fit than entry-level shared hosting when you want more control over your server and application choices, while still having a managed platform around them. Its official site highlights Performance, Security, 24×7 Expert Support, Free Migration, and Free SSL as platform features.
That said, how to use cloudways does involve a few more decisions than a one-click shared hosting setup. You will need to select a provider, choose a server configuration, and update domain DNS records. This tutorial breaks those actions into manageable steps.
Before You Start: What You’ll Need
A Domain Name
You need a domain name, such as yourbusiness.com, before you can fully launch a public website. You may buy a domain from a domain registrar, but you should keep access to that registrar account because you will later update its DNS records.
You can launch a Cloudways application before connecting the domain. This lets you prepare WordPress and test the site first.
A Payment Method and Cloudways Account
Prepare an active email address and the payment information requested during the current signup process. Cloudways may offer a free trial or “start free” path depending on the offer shown in your region and at the time you visit.
The interface and signup requirements can change, so always follow the current prompts displayed by Cloudways. If you are ready to start, you can begin through this Cloudways signup option.
Optional: Existing WordPress Site for Migration
If you already have a WordPress website elsewhere, do not assume you need to rebuild it manually. Cloudways officially lists Free Migration among its features.
The exact migration process may depend on your site and current host. After signup, review the migration options inside your account and consult the official Cloudways support documentation if you need help with the transfer.
Recommended Browser and Basic DNS Access
For the smoothest Cloudways setup, use an updated browser and keep access to:
- Your email inbox for account verification.
- Your domain registrar dashboard.
- Your WordPress admin details, if you are moving an existing site.
- A secure place to save passwords and account information.
You do not need to be a developer to understand how to use cloudways for a basic WordPress website. However, you should be comfortable following on-screen instructions and making a simple DNS change.
Step 1: Create Your Cloudways Account
Go to the Cloudways Signup Page
Start by visiting the Cloudways signup page through the official website or a trusted review partner. Before submitting anything, read the current offer and account terms shown on screen.
A careful first step is useful because hosting promotions, payment prompts, and verification steps can change. Do not rely on screenshots from old tutorials; use the current Cloudways dashboard as your source of truth.
Choose the Free Trial or Start Free Option
If a Cloudways free trial or start-free option is available, select it and continue with the requested information. This gives you a chance to explore the dashboard and understand the process before committing to a longer-term hosting decision.
The basic goal at this stage is account access, not a perfect configuration. You can review your options again when it is time to launch a server.
Verify Email and Complete Account Basics
Check your inbox for the Cloudways verification email and complete the confirmation process. Then log in and review the onboarding prompts.
As you continue learning how to use cloudways, keep your login details secure. Use a unique password, enable any security options offered in your account, and avoid sharing administrator access unnecessarily.
Step 2: Launch Your First Server
Choose Your Application Type: How to Use Cloudways for WordPress
Launching a server and deploying an application is the main starting point. In the Cloudways dashboard, look for the server or application launch workflow, then choose the application you want to deploy.
For most first-time website owners, select WordPress. If you are creating a store, you may see WooCommerce as a suitable option; developers may instead choose Laravel, PHP, or Magento based on their project requirements.
This is an important distinction: the server is the hosting environment, while the application is the software that runs on it. A WordPress website is your application.
Select a Cloud Provider
Cloudways lists DigitalOcean, Vultr, Linode, AWS, and GCE as available cloud provider options. The provider supplies the underlying cloud infrastructure, while Cloudways provides the managed platform experience.
Do not overthink this choice on your first attempt. Read the current descriptions in the launch screen, consider your audience location, and select the option that fits your needs and budget.
Pick Server Size and Location
Next, choose a server size and a data center location. For a new site with modest traffic, choose the smallest practical configuration available for your project, then reassess later as your site grows.
A location closer to your expected visitors can be a sensible starting point. However, there is no need to guess at advanced performance settings when you are still working through a basic Cloudways beginner guide.
Launch the Server
Review your selections, name the server and application clearly, and launch it. Give names that make sense later, such as “Main WordPress Site” rather than “Test 1.”
Once the deployment finishes, your Cloudways dashboard should show the newly created server and WordPress application. This is the central milestone in how to use cloudways: your hosting environment and site application now exist.
Official website · Latest pricing & offers
Step 3: Install and Configure WordPress
Select WordPress as the Application
If WordPress was selected during the launch process, Cloudways will deploy it as part of that workflow. The exact labels can vary, but your goal is to confirm that the application shown in the dashboard is WordPress.
For a beginner, avoid launching multiple applications unless you have a real reason. One server and one clear WordPress application are easier to manage while you learn the platform.
Enter Site Details and Admin Credentials
Set or review the site details requested during setup. Save your WordPress administrator username, password, login URL, and any application credentials in a secure password manager.
Strong credentials matter from day one. Do not use simple passwords, reused passwords, or an obvious administrator username if you can avoid it.
Review the Configuration and Deploy
Before moving on, check that you selected the intended application, cloud provider, server location, and server size. If something looks wrong, it is easier to correct it before adding your domain and building the site.
This is also a good moment to read the relevant official Cloudways support documentation and dashboard guidance. Cloudways may update its workflow, so platform instructions should take priority over a generic tutorial.
Log In to the WordPress Dashboard
After deployment, find the WordPress admin login details in your Cloudways application settings or setup information. Use those details to access the WordPress dashboard and confirm that WordPress is working.
When people ask how to set up WordPress on Cloudways, this is the practical sequence: log in, launch a server, select WordPress, confirm the application setup, and access the WordPress dashboard. From there, you can choose a theme, create pages, and install only the plugins you genuinely need.
Step 4: Connect Your Domain and Make the Site Live
Add Your Domain in Cloudways
Your WordPress application can be tested before your domain is connected, but a live business website needs its own domain attached. In the Cloudways application settings, locate the domain management area and add your primary domain.
Enter the domain carefully. A small spelling mistake can cause confusing DNS problems later.
Update DNS Records at Your Registrar
Cloudways will provide the information needed to point your domain to the server. Log in to the company where you registered the domain, open its DNS management area, and update the required records using the current Cloudways instructions.
This Cloudways domain setup step happens at your domain registrar, not inside WordPress. If you are unsure which records to change, consult your registrar’s help center and the official Cloudways domain guidance before saving changes.
Wait for Propagation and Verify Status
DNS changes are not always instant. It can take time for DNS propagation to complete across networks, so do not panic if your domain does not immediately load the new website.
Cloudways may check the domain verification status automatically as the DNS update becomes visible. Keep the DNS records in place and recheck the application settings after allowing time for propagation.
Understanding this delay is an essential part of how to use cloudways successfully. Many beginners think the launch failed when the change simply has not propagated yet.
Check the Live Site in a Browser
Once the domain resolves correctly, open it in a browser and test the homepage. Also test the WordPress admin login, a sample page, the contact form if you have one, and the site on a mobile device.
If the wrong page appears, revisit your domain setting and DNS records. Do not make repeated random changes while propagation is still happening, as that can make troubleshooting harder.
Step 5: Secure the Site and Do the First-Day Essentials
Enable SSL
Cloudways officially lists Free SSL as a feature. Once your domain is connected and resolving properly, follow the current dashboard process to enable an SSL certificate for the domain.
SSL helps visitors access your site over HTTPS. After setup, check that your website loads with https:// and that browser security warnings do not appear.
Confirm Backups and Support Basics
Before publishing important content, review the backup and support options available in your account. Cloudways officially highlights Security and 24×7 Expert Support, but you should still understand what is enabled on your own account and where to get help.
This is a practical point in how to use cloudways: managed hosting does not mean ignoring your site. Keep copies of important content, document major changes, and know where the support area is before an urgent issue occurs.
Check Performance and Caching Basics
Cloudways lists Performance among its official features. For a first-day setup, your task is not to perform advanced optimization; it is simply to confirm that the site loads normally and that you understand the performance tools available in your dashboard.
Avoid installing several overlapping caching or optimization plugins immediately. Build the site first, test it, and make one improvement at a time.
Run a Final Site Test
Complete a simple launch checklist:
- Open the domain on desktop and mobile.
- Confirm the site uses HTTPS.
- Test your WordPress login.
- Check menus, forms, images, and key pages.
- Make sure your contact information is accurate.
- Save your Cloudways login and WordPress credentials securely.
This final pass is one of the most useful habits in any Cloudways setup. It catches simple errors before visitors do.
Cloudways Pricing and What the Official Site Says
Verified Pricing Facts From the Official Pages
Cloudways offers Cloudways Flexible, described as customizable managed hosting for WordPress, and Cloudways Autonomous, described as fully managed hosting for WordPress.
The supplied official page information does not provide a complete hosting price table for every configuration. For that reason, do not rely on third-party claims about server costs, storage, bandwidth, or plan pricing. Check the live Cloudways pricing page before purchase.
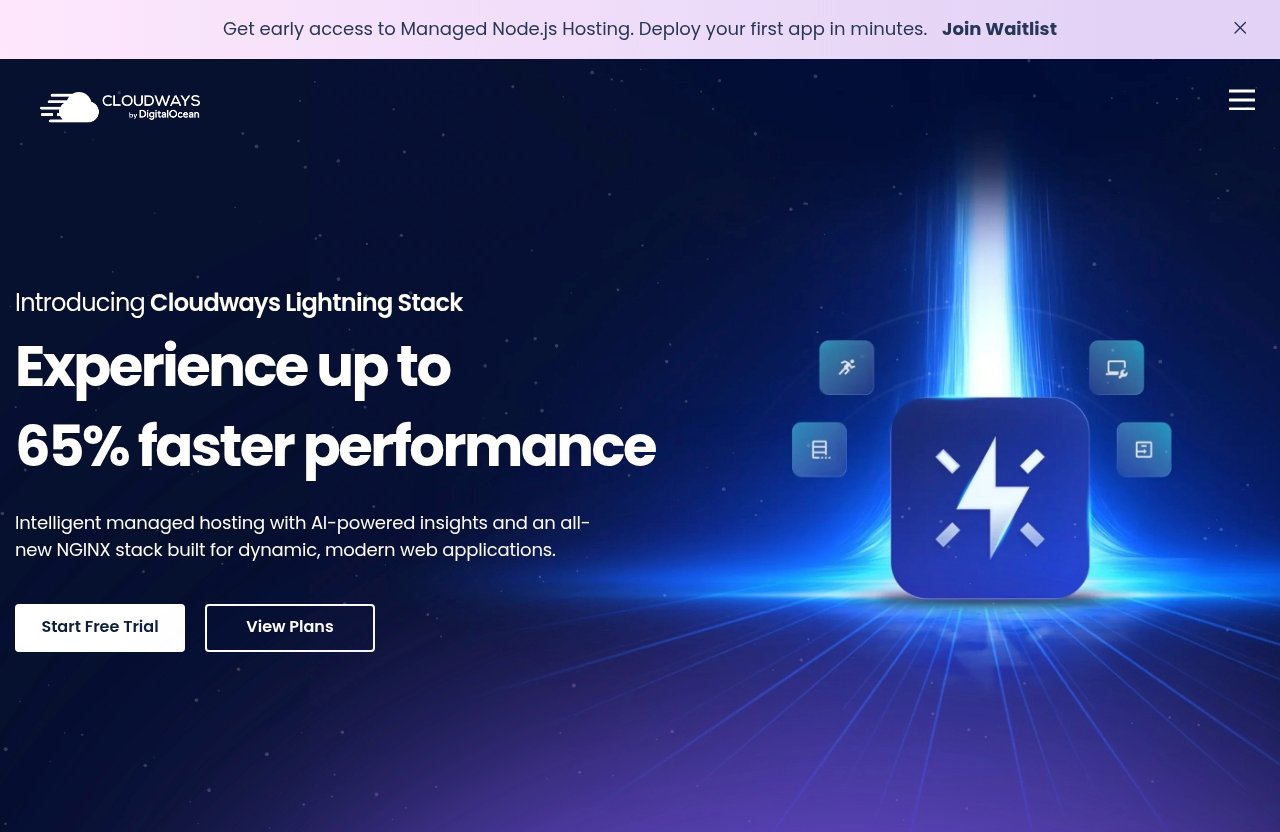
At the time of this guide, the official homepage shows a limited-time summer offer of 40% OFF all hosting plans plus unlimited free migrations, valid until 15th September 2026. Promotional terms can change, so confirm the offer at checkout.
The official site also shows Advanced Support at a current price of $100/mo, discounted to $25/mo flat. Review the current terms and whether this option fits your needs before adding it.
What Features Are Officially Listed
Cloudways officially lists these platform features:
| Officially Listed Feature | What It Means for Beginners |
|---|---|
| Performance | Tools and infrastructure intended to support site performance |
| Security | Managed hosting security-related features and account options |
| 24×7 Expert Support | Access to expert support around the clock |
| Free Migration | A migration option for moving an existing website |
| Free SSL | SSL availability for securing a connected domain |
The best way to understand how to use cloudways commercially is to match the platform to your actual needs. Start with your website goal, check current pricing directly, and do not pay for extras you do not understand yet.
How to Use the Trial or Start Free Option
If the current Cloudways signup page shows a trial or start-free option, use it to explore the launch process. Review the application options, provider choices, and dashboard structure before making a final hosting decision.
You can start your setup through this Cloudways offer page and then verify the latest prices and promotion details on the official Cloudways checkout screen.
Common Beginner Mistakes to Avoid
Choosing the Wrong Application
Do not choose Magento, Laravel, PHP, or WooCommerce simply because the names appear in the launch menu. Pick WordPress for a standard content website, and choose another application only when it matches your project.
The easiest way to understand how to use cloudways is to start with one clear purpose. You can always explore more advanced applications later.
Forgetting DNS Propagation Time
A domain update may take time to spread across the internet. If the site does not load immediately after you change DNS, wait, verify the records, and check again later.
Avoid repeatedly switching settings back and forth. Correct DNS records plus patience are usually more helpful than constant edits.
Skipping SSL
Do not publish a finished site without checking SSL. Once the domain points correctly, enable the available Cloudways SSL option and confirm the HTTPS version loads correctly.
Visitors expect a secure connection, especially when submitting forms or entering personal details.
Using Weak Admin Passwords
Weak passwords are an avoidable risk. Use a strong, unique password for Cloudways login access and for your WordPress administrator account.
Also limit administrator accounts to people who genuinely need them. Fewer admin users make a new site easier to manage.
Official website · Latest pricing & offers
FAQ
How Do I Take My Website Live From Cloudways?
Add your domain in the Cloudways application settings, then update the required DNS records at your domain registrar. Wait for DNS propagation, as this can take time and may not happen instantly. Cloudways may automatically check domain verification until the site is live.
How to Set Up WordPress on Cloudways?
Log in to Cloudways, launch your first server, select WordPress as the application, enter the required site details, and review the configuration before deployment. Once it is ready, use the provided WordPress login details to access your dashboard and begin building the site.
Do I Need Technical Skills to Use Cloudways?
No advanced technical skills are required for a basic WordPress launch. You should be comfortable with simple tasks such as creating an account, choosing an application, launching a server, and updating DNS records at your registrar.
Can I Migrate an Existing Site to Cloudways?
Yes. Cloudways officially lists Free Migration as a platform feature. After signup, check the migration flow available in your account and review official support documentation for the current migration requirements.
Final Thoughts: Is Cloudways Easy for Beginners?
Who Should Click Signup Now
Cloudways can be a practical choice if you want managed cloud hosting for WordPress and are comfortable following a guided setup process. Bloggers, small businesses, agencies, developers, and ecommerce owners can all begin with one application and a clear site goal.
Once you know how to use cloudways, the process becomes straightforward: create an account, launch a server, deploy WordPress, connect the domain, enable SSL, and test everything.
When to Bookmark the Tutorial
Bookmark this guide if you are waiting on a domain purchase, collecting website content, or deciding which cloud provider to select. It is especially useful to revisit the domain and SSL sections when your server is ready.
Remember that the Cloudways dashboard may change over time. Use this tutorial for the overall process, then follow current on-screen instructions and official support resources for exact fields and settings.
Next Steps After Launch
After your first successful Cloudways setup, focus on the website itself. Install a trustworthy theme, create essential pages, publish useful content, and test your site from a visitor’s perspective.
The key takeaway from how to use cloudways is that you do not need to master every hosting concept on day one. Start with WordPress, make careful choices, keep your credentials secure, and use official Cloudways guidance whenever you reach a setting you do not recognize.
Related Reading
- Cloudways review for growing websites
- Cloudways for bloggers and traffic growth
- Cloudways pricing plans explained
References
- Getting Started With Cloudways
- Getting Started – Cloudways
- Cloudways: Managed Cloud Hosting Platform Simplified
- Cloudways Review and Tutorial: Managed WordPress Hosting In the Cloud